
A Comprehensive Guide to Installing Windows 11: A Step-by-Step Journey
Related Articles: A Comprehensive Guide to Installing Windows 11: A Step-by-Step Journey
Introduction
With great pleasure, we will explore the intriguing topic related to A Comprehensive Guide to Installing Windows 11: A Step-by-Step Journey. Let’s weave interesting information and offer fresh perspectives to the readers.
Table of Content
A Comprehensive Guide to Installing Windows 11: A Step-by-Step Journey
The arrival of Windows 11 marked a significant evolution in the Microsoft operating system, bringing a fresh interface, enhanced performance, and a suite of new features. Installing this updated operating system is a crucial step for users seeking to experience the full potential of their devices. This guide provides a detailed walkthrough of the installation process, addressing common questions and offering helpful tips to ensure a smooth and successful experience.
Understanding the Prerequisites
Before embarking on the installation journey, it is essential to ensure that the hardware meets the minimum system requirements for Windows 11. These requirements are designed to guarantee optimal performance and compatibility with the new operating system.
System Requirements for Windows 11:
- Processor: 1 gigahertz (GHz) or faster with 2 or more cores
- RAM: 4 gigabytes (GB)
- Storage: 64 GB or larger storage device
- Graphics Card: Compatible with DirectX 12 or later with WDDM 2.x driver
- Display: High Definition (720p) display with at least 9 inches diagonally
- Internet Connection: Required for initial setup and some features
- Other Requirements: Secure Boot enabled, Trusted Platform Module (TPM) 2.0, UEFI firmware
Methods of Installation:
There are two primary methods for installing Windows 11:
-
Clean Installation: This involves wiping the existing operating system and data from the hard drive before installing Windows 11. It is recommended for users who want a fresh start or are upgrading from an older version of Windows.
-
Upgrade Installation: This method allows users to upgrade their existing Windows 10 installation to Windows 11 without losing their data or applications. It is a simpler and faster process but may encounter compatibility issues with certain applications.
Preparing for Installation:
-
Back Up Your Data: Before proceeding with the installation, it is crucial to back up all essential data, including documents, photos, and other files. This ensures that data is preserved in case of any unforeseen issues during the installation process.
-
Create a Bootable USB Drive: For a clean installation, a bootable USB drive containing the Windows 11 installation files is necessary. This can be created using the Windows 11 installation media creation tool available on the Microsoft website.
-
Check Compatibility: Before attempting to upgrade, verify that the hardware meets the minimum system requirements for Windows 11. Users can utilize the PC Health Check app, available from Microsoft, to assess compatibility.
Installing Windows 11: A Step-by-Step Guide
1. Boot from the Installation Media:
- Insert the bootable USB drive into the computer.
- Restart the computer and access the BIOS settings.
- Select the USB drive as the boot priority in the BIOS menu.
- Save the changes and exit the BIOS.
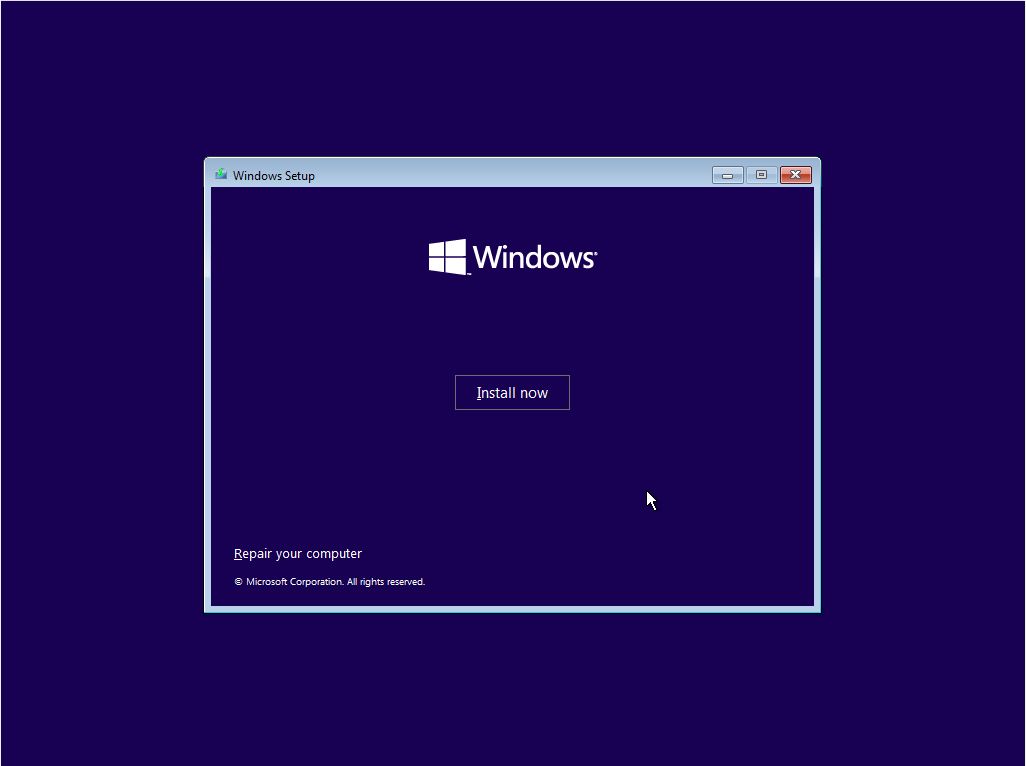
2. Select Installation Options:
- The Windows 11 setup screen will appear.
- Choose the language, time and currency format, and keyboard layout.
- Click "Install Now."
3. Accept License Terms:
- Read and accept the Windows 11 license terms.
- Click "Next."
4. Choose Installation Type:
- Select "Custom: Install Windows only (advanced)."
- This option allows for a clean installation and partitioning of the hard drive.
5. Partition the Hard Drive:
- Choose the partition where Windows 11 will be installed.
- Consider creating separate partitions for the operating system, applications, and user data.
- Click "Next."
6. Initiate Installation:
- The installation process will begin.
- This may take several minutes or even hours depending on the system specifications.
7. Configure Windows 11:
- Once the installation is complete, the computer will restart.
- Follow the on-screen instructions to configure Windows 11, including setting up the user account, network connection, and other preferences.
8. Activate Windows 11:
- Windows 11 requires activation to unlock all features.
- Activation can be performed using a product key or by linking the installation to a Microsoft account.
Upgrading from Windows 10:
- Access the Windows Update settings in Windows 10.
- Check for updates and download the Windows 11 upgrade.
- Follow the on-screen instructions to complete the upgrade process.
Troubleshooting Common Issues:
1. Compatibility Issues:
- Ensure that the hardware meets the minimum system requirements for Windows 11.
- If encountering compatibility issues, consult the Microsoft website or contact technical support for assistance.
2. Installation Errors:
- Ensure that the bootable USB drive is correctly created and that the BIOS settings are properly configured.
- Check for any hardware conflicts or errors in the system logs.
3. Activation Problems:
- Verify the product key or Microsoft account credentials.
- If encountering activation issues, contact Microsoft support for assistance.
Frequently Asked Questions (FAQs)
1. Can I upgrade from Windows 7 or Windows 8.1 to Windows 11?
No, a direct upgrade from Windows 7 or Windows 8.1 to Windows 11 is not supported. Users must first upgrade to Windows 10 before installing Windows 11.
2. Will I lose my data during the upgrade process?
An upgrade installation should preserve user data and applications. However, it is still recommended to back up important data before proceeding.
3. Can I install Windows 11 on a virtual machine?
Yes, Windows 11 can be installed on a virtual machine, such as VMware Workstation or Oracle VirtualBox. However, it is important to ensure that the virtual machine meets the minimum system requirements.
4. What is the difference between a clean installation and an upgrade installation?
A clean installation involves wiping the hard drive and installing Windows 11 from scratch. An upgrade installation upgrades the existing operating system to Windows 11 without deleting user data.
5. How do I activate Windows 11?
Windows 11 can be activated using a product key or by linking the installation to a Microsoft account.
Tips for a Successful Installation:
- Back up your data: This is essential to protect against any data loss during the installation process.
- Check system requirements: Ensure that the hardware meets the minimum system requirements for Windows 11.
- Create a bootable USB drive: This is necessary for a clean installation.
- Disable antivirus software: Antivirus software can interfere with the installation process.
- Disconnect external devices: This can help avoid conflicts during the installation.
- Use a wired internet connection: A wired connection is more reliable than a wireless connection during the installation process.
Conclusion
Installing Windows 11 is a straightforward process that can be completed successfully by following the steps outlined in this guide. By understanding the prerequisites, preparing for the installation, and troubleshooting any potential issues, users can ensure a smooth and successful experience. With its enhanced features, performance improvements, and modern interface, Windows 11 offers a compelling upgrade for users seeking to enhance their computing experience.


Closure
Thus, we hope this article has provided valuable insights into A Comprehensive Guide to Installing Windows 11: A Step-by-Step Journey. We appreciate your attention to our article. See you in our next article!