
Creating Bootable Windows 11 USB Drives with Rufus: A Comprehensive Guide
Related Articles: Creating Bootable Windows 11 USB Drives with Rufus: A Comprehensive Guide
Introduction
With enthusiasm, let’s navigate through the intriguing topic related to Creating Bootable Windows 11 USB Drives with Rufus: A Comprehensive Guide. Let’s weave interesting information and offer fresh perspectives to the readers.
Table of Content
- 1 Related Articles: Creating Bootable Windows 11 USB Drives with Rufus: A Comprehensive Guide
- 2 Introduction
- 3 Creating Bootable Windows 11 USB Drives with Rufus: A Comprehensive Guide
- 3.1 Understanding Rufus and Its Purpose
- 3.2 Key Features of Rufus
- 3.3 Step-by-Step Guide to Creating a Bootable Windows 11 USB Drive with Rufus
- 3.4 Frequently Asked Questions (FAQs)
- 3.5 Tips for Using Rufus
- 3.6 Conclusion
- 4 Closure
Creating Bootable Windows 11 USB Drives with Rufus: A Comprehensive Guide
The advent of Windows 11 has ushered in a new era of computing, offering enhanced performance, security features, and a visually appealing user interface. Installing Windows 11 on a new PC or upgrading an existing one often necessitates creating a bootable USB drive. This is where Rufus, a versatile and free utility, comes into play. This comprehensive guide delves into the intricacies of utilizing Rufus to create bootable Windows 11 USB drives, providing an in-depth understanding of its features and functionalities.
Understanding Rufus and Its Purpose
Rufus is a lightweight and portable application designed specifically for creating bootable USB drives. It supports a wide range of operating systems, including Windows, Linux, and UEFI-based systems. Rufus excels in its simplicity, offering a user-friendly interface that streamlines the process of creating bootable media. This makes it an ideal choice for both novice and experienced computer users.
Key Features of Rufus
1. Bootable Media Creation: Rufus’s primary function is to create bootable USB drives for various operating systems, including Windows 11. It supports various formats, including ISO images, bootable files, and even disk images.
2. UEFI Support: Rufus seamlessly integrates with UEFI systems, enabling the creation of bootable drives that adhere to the Unified Extensible Firmware Interface (UEFI) standard. This ensures compatibility with modern PCs and facilitates a smooth installation process.
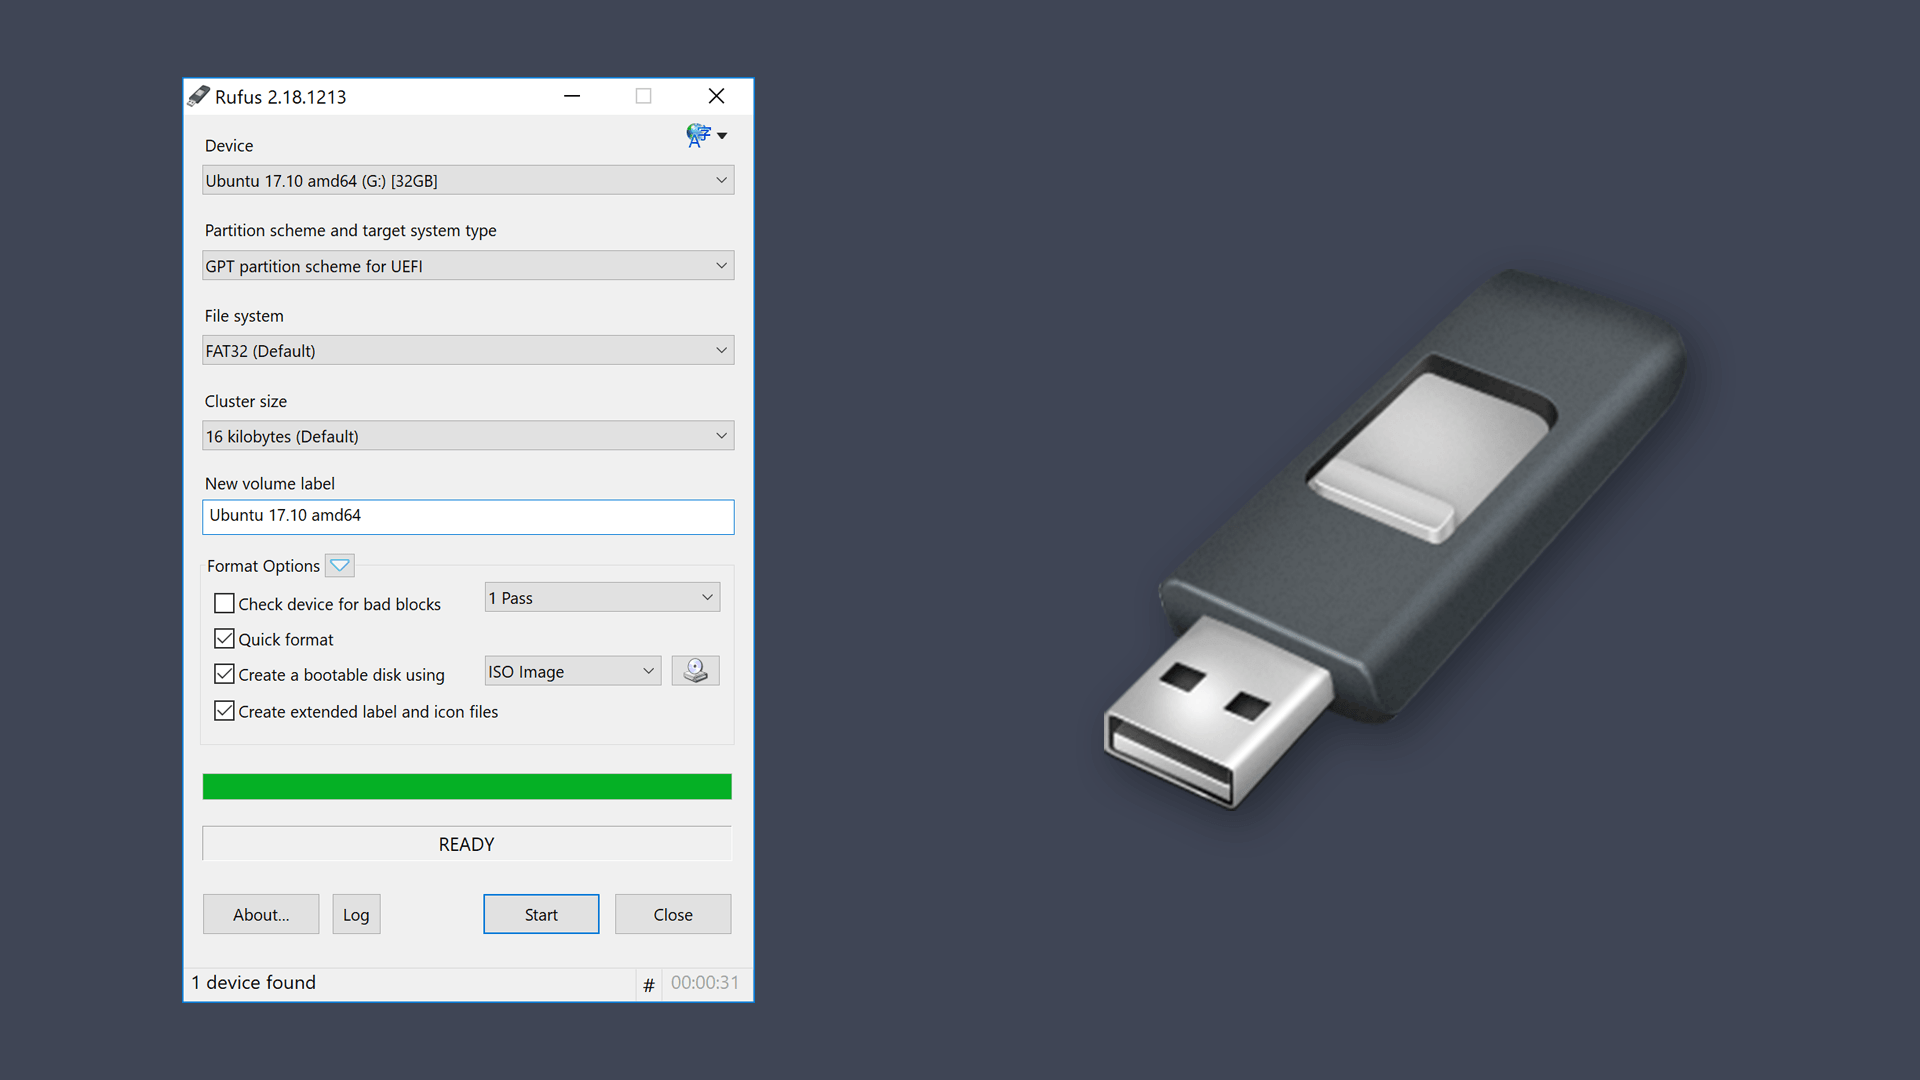
3. Disk Partitioning and Formatting: Rufus allows users to format the target USB drive with various file systems, including FAT32, NTFS, and exFAT. It also offers options for partitioning the drive, customizing its layout for optimal performance.
4. Advanced Options: Rufus provides a range of advanced options that cater to experienced users. These include the ability to configure boot settings, create persistent USB drives, and even utilize advanced disk partitioning schemes.
5. Customization: Rufus allows users to customize the bootable drive by adding specific drivers, language packs, or other necessary files. This ensures a tailored installation experience that meets individual requirements.
Step-by-Step Guide to Creating a Bootable Windows 11 USB Drive with Rufus
-
Download Rufus: Begin by downloading the latest version of Rufus from its official website. Ensure you download the appropriate version for your operating system (Windows, macOS, or Linux).
-
Launch Rufus: After downloading, launch the Rufus application.
-
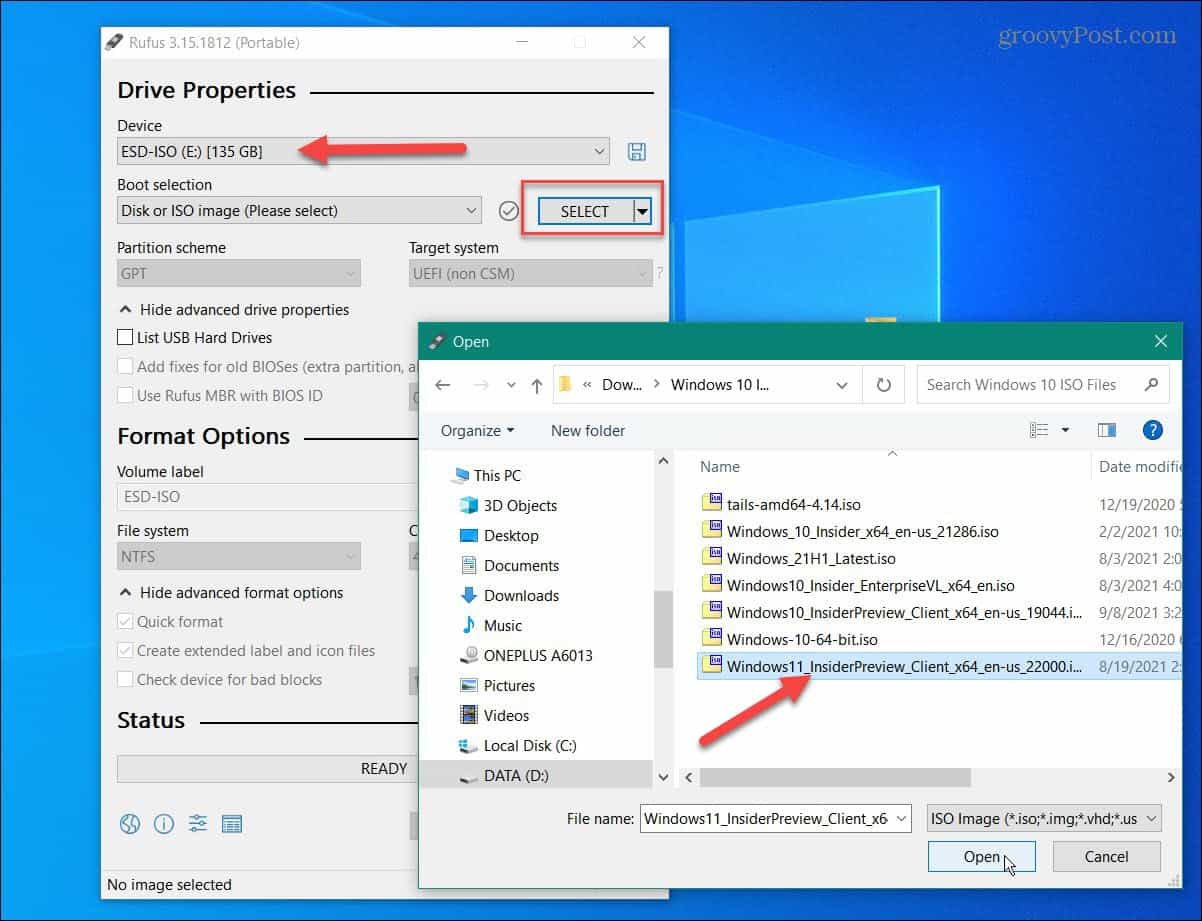
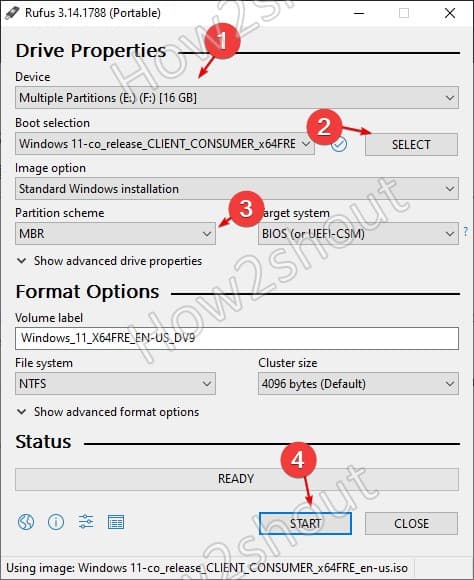
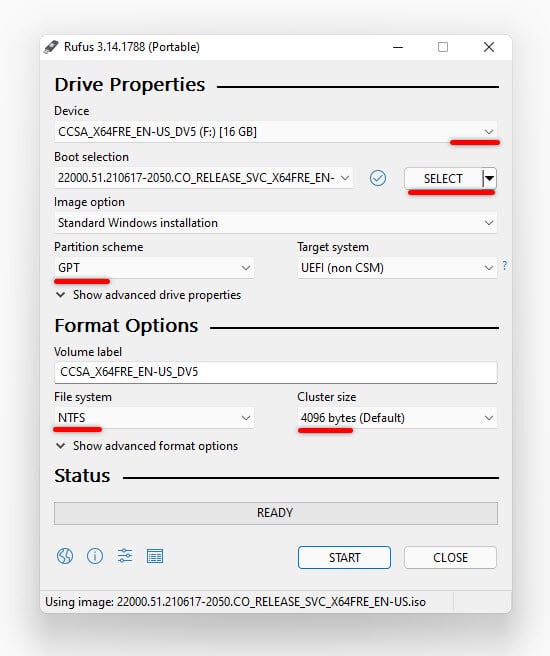
Select USB Drive: Connect the USB drive to your computer and select it from the "Device" dropdown menu.
-
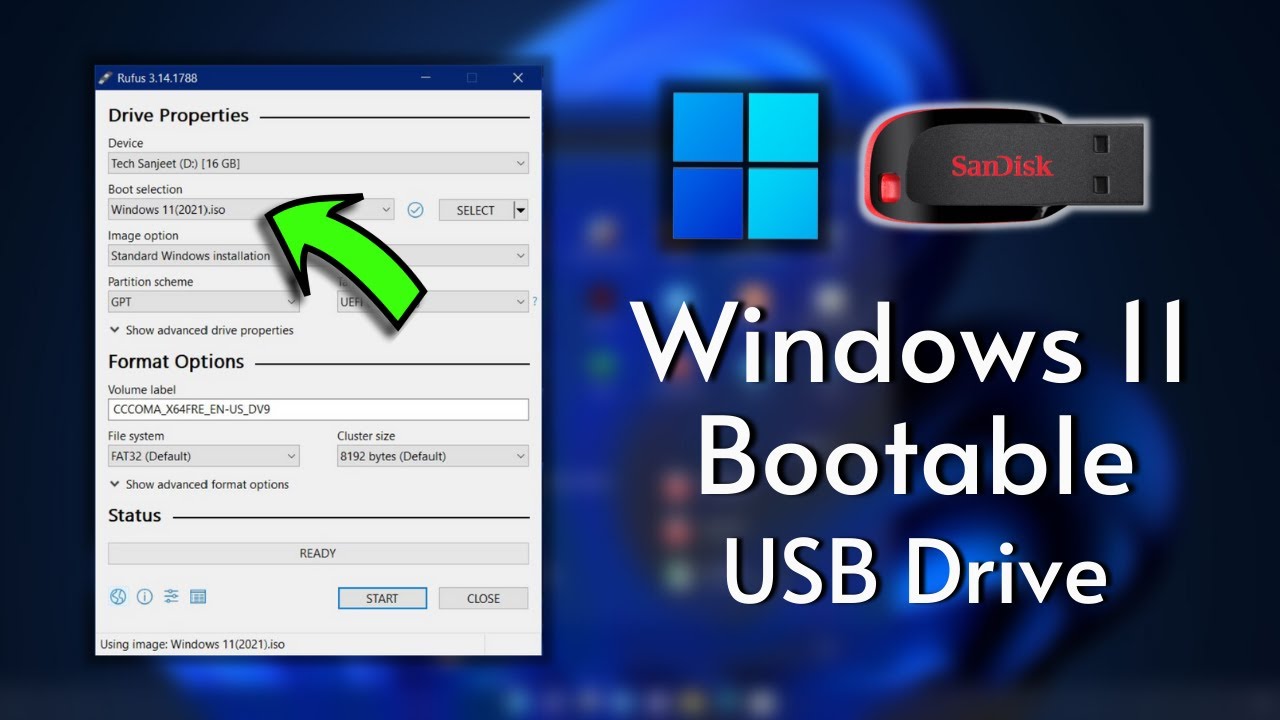
Choose Boot Selection: Select "Boot selection" and navigate to the Windows 11 ISO image file. This file is typically obtained from Microsoft’s website or other legitimate sources.
-
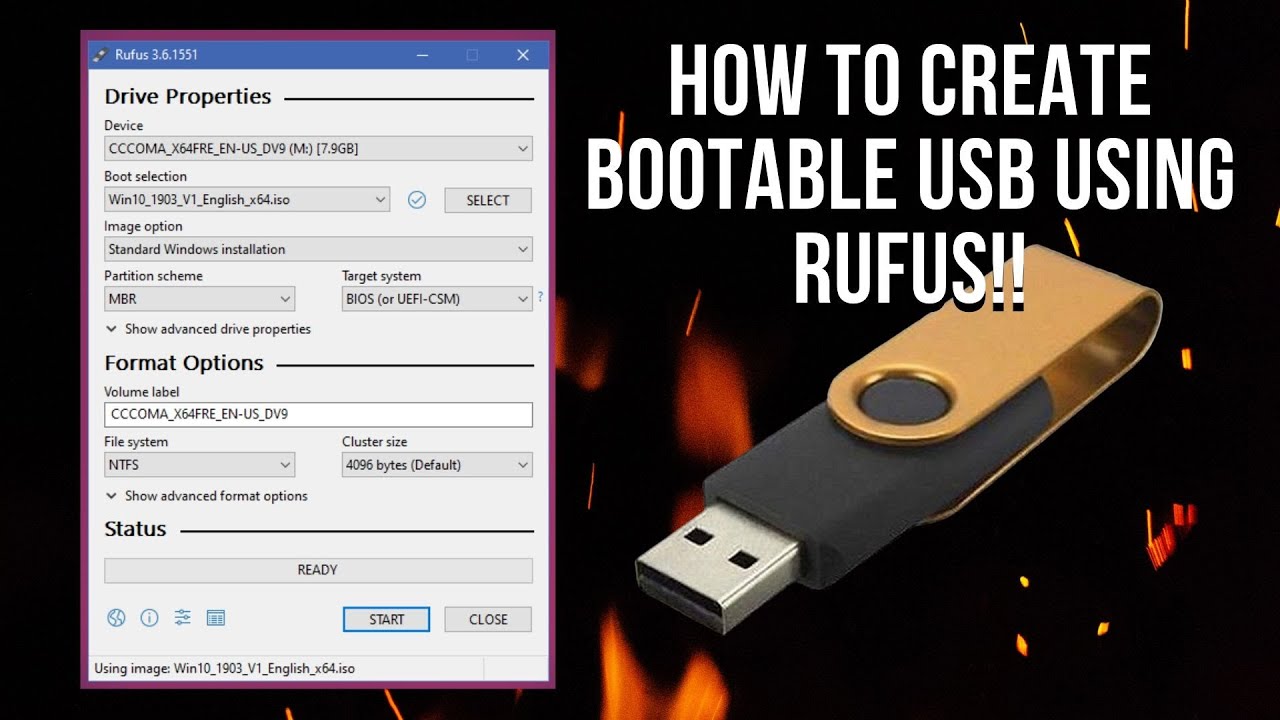
Select Partition Scheme: Choose the appropriate partition scheme based on your target system. If you are installing Windows 11 on a UEFI system, select "GPT for UEFI." For older BIOS systems, select "MBR for BIOS."
-
Select File System: Choose the file system for your USB drive. Typically, NTFS is recommended for Windows 11 installations.
-
Additional Options: Explore the "Advanced options" section to configure boot settings, add drivers, or customize the bootable drive further.
-
Start Creation: Click the "Start" button to initiate the bootable USB drive creation process. Rufus will format the USB drive and copy the necessary files, creating a bootable Windows 11 installation media.
-
Verification: Once the process is complete, Rufus will notify you. Verify that the USB drive is bootable by attempting to boot your computer from it.
Frequently Asked Questions (FAQs)
1. What are the system requirements for running Rufus?
Rufus is compatible with Windows, macOS, and Linux operating systems. It requires a minimum of 1GB of RAM and 50MB of free disk space.
2. Can I use Rufus to create bootable drives for other operating systems?
Yes, Rufus supports a wide range of operating systems, including Windows, Linux, and various distributions.
3. How do I choose the correct partition scheme for my system?
If you are installing Windows 11 on a modern UEFI system, select "GPT for UEFI." For older BIOS systems, select "MBR for BIOS."
4. Can I use Rufus to create bootable drives for virtual machines?
Yes, Rufus can be used to create bootable drives for virtual machines, such as VirtualBox or VMware.
5. Is it safe to use Rufus to format my USB drive?
Rufus is a reputable and widely used utility. It is safe to use as long as you select the correct options and follow the instructions carefully.
Tips for Using Rufus
1. Use a Dedicated USB Drive: It is recommended to use a dedicated USB drive specifically for creating bootable media. This helps prevent accidental data loss from other drives.
2. Back Up Your Data: Before formatting the USB drive, ensure you have backed up any important data. Formatting will erase all data on the drive.
3. Verify the ISO Image: Always verify that the Windows 11 ISO image you are using is genuine and downloaded from a trusted source.
4. Explore Advanced Options: Familiarize yourself with the advanced options in Rufus to customize the bootable drive further.
5. Update Rufus: Regularly update Rufus to benefit from the latest features and bug fixes.
Conclusion
Rufus is an indispensable tool for creating bootable USB drives, particularly for Windows 11 installations. Its user-friendly interface, comprehensive features, and support for various operating systems make it an ideal choice for both casual and advanced users. By following the steps outlined in this guide, you can easily create a bootable Windows 11 USB drive and embark on a smooth installation process. Remember to back up your data, verify the ISO image, and explore the advanced options to customize your installation experience. With Rufus, creating bootable media is a straightforward and efficient process, empowering you to install Windows 11 with ease and confidence.


Closure
Thus, we hope this article has provided valuable insights into Creating Bootable Windows 11 USB Drives with Rufus: A Comprehensive Guide. We hope you find this article informative and beneficial. See you in our next article!