
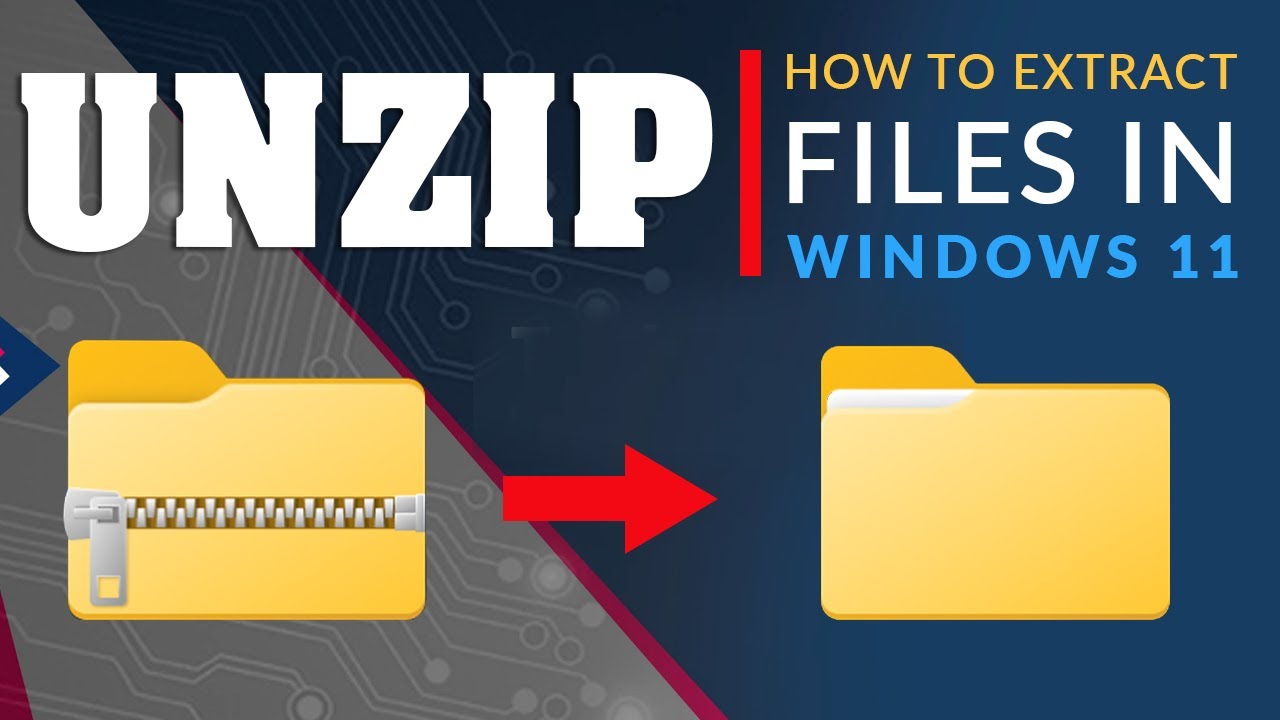
Creating Compressed Archives in Windows 11: A Comprehensive Guide
Related Articles: Creating Compressed Archives in Windows 11: A Comprehensive Guide
Introduction
With enthusiasm, let’s navigate through the intriguing topic related to Creating Compressed Archives in Windows 11: A Comprehensive Guide. Let’s weave interesting information and offer fresh perspectives to the readers.
Table of Content
- 1 Related Articles: Creating Compressed Archives in Windows 11: A Comprehensive Guide
- 2 Introduction
- 3 Creating Compressed Archives in Windows 11: A Comprehensive Guide
- 3.1 Understanding ZIP Archives
- 3.2 Methods for Creating ZIP Archives in Windows 11
- 3.3 Essential Considerations for ZIP Archive Creation
- 3.4 Benefits of Creating ZIP Archives
- 3.5 Frequently Asked Questions
- 3.6 Tips for Effective ZIP Archive Creation
- 3.7 Conclusion
- 4 Closure
Creating Compressed Archives in Windows 11: A Comprehensive Guide

Windows 11 offers a robust and user-friendly system for compressing files into archives, commonly known as ZIP files. This process, often referred to as "zipping" files, plays a crucial role in streamlining file sharing, saving storage space, and enhancing data security. By reducing file sizes, ZIP archives facilitate efficient transfer over networks and email, while also safeguarding sensitive information through password protection.
Understanding ZIP Archives
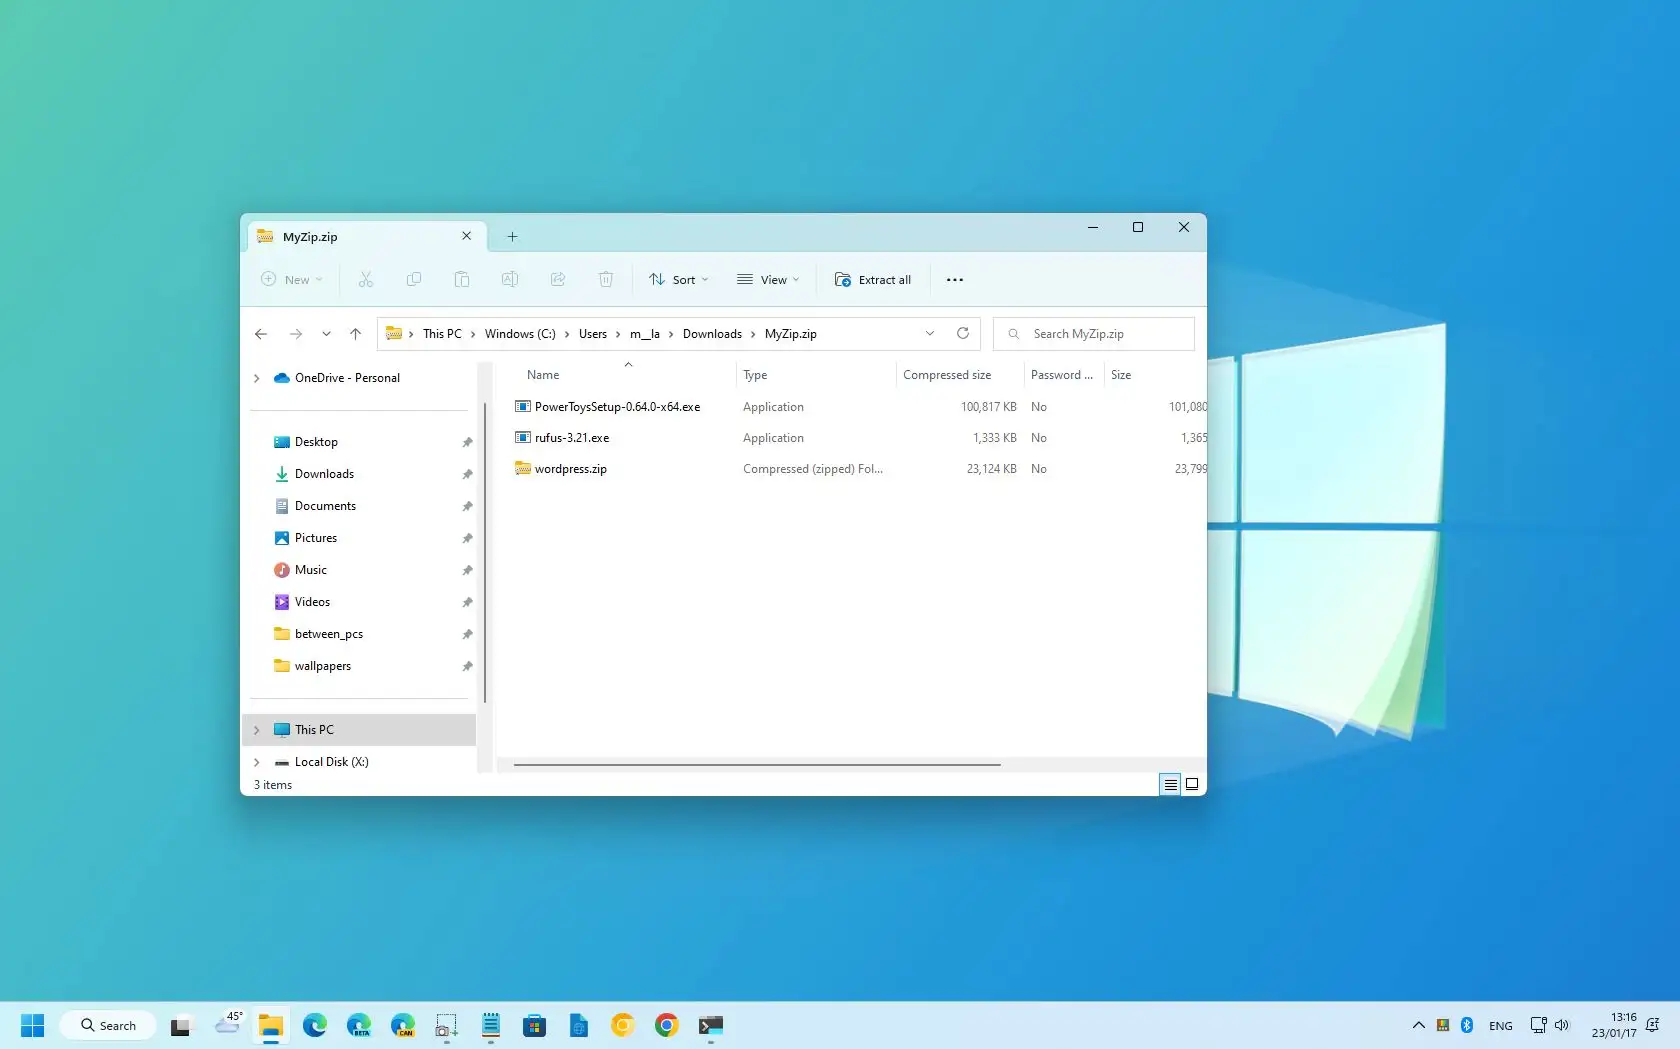
A ZIP archive is essentially a container that holds one or more files in a compressed format. Compression algorithms, such as Deflate, are employed to reduce the size of the original files, thereby optimizing storage and transmission. When a ZIP archive is created, the original files are not deleted; they remain in their original location. The ZIP archive simply contains compressed copies of these files.
Methods for Creating ZIP Archives in Windows 11
Windows 11 offers several convenient methods for creating ZIP archives. Here’s a breakdown of the most common approaches:
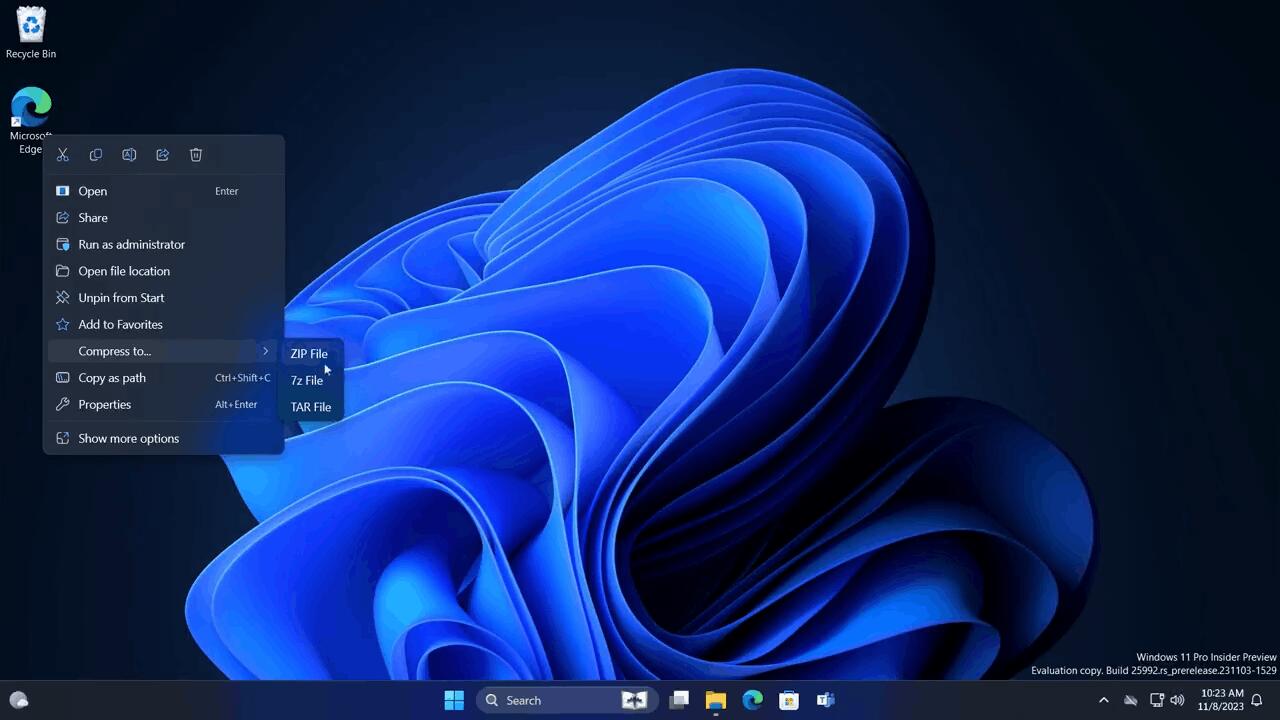
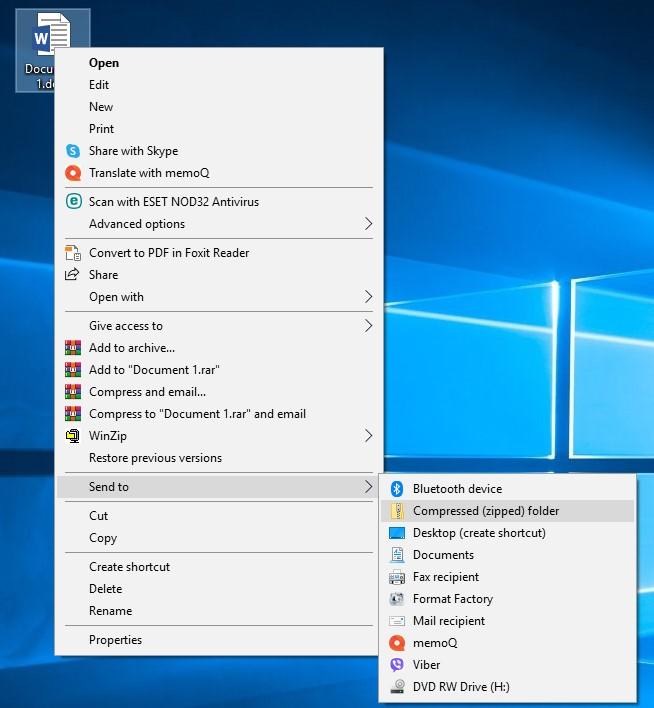
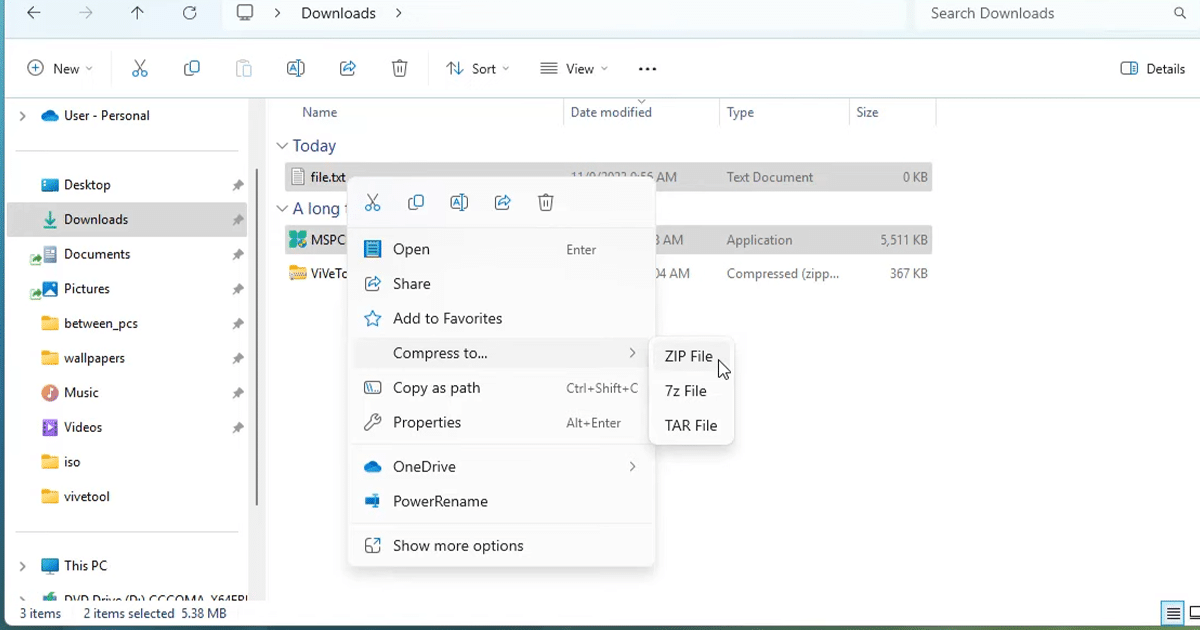
1. Using the File Explorer Context Menu:
- Navigate to the folder containing the files you wish to compress.
- Select the desired files or folders by holding down the Ctrl key while clicking on individual items or by dragging a selection box over multiple items.
- Right-click on the selected files or folders.
- Hover over the "Send to" option.
- Choose "Compressed (zipped) folder" from the submenu.
- A new ZIP archive containing the selected files will be created in the same folder.
2. Utilizing the "Compress-Archive" Command:
- Open the "Start" menu and type "cmd".
- Right-click on "Command Prompt" and select "Run as administrator".
- In the command prompt window, navigate to the directory where the files you want to compress are located using the
cdcommand. -
Execute the following command, replacing "[folder name]" with the actual folder name:
compress-archive -Destination [folder name].zip [folder name] - This command will create a ZIP archive named "[folder name].zip" containing all files and subfolders within the specified folder.
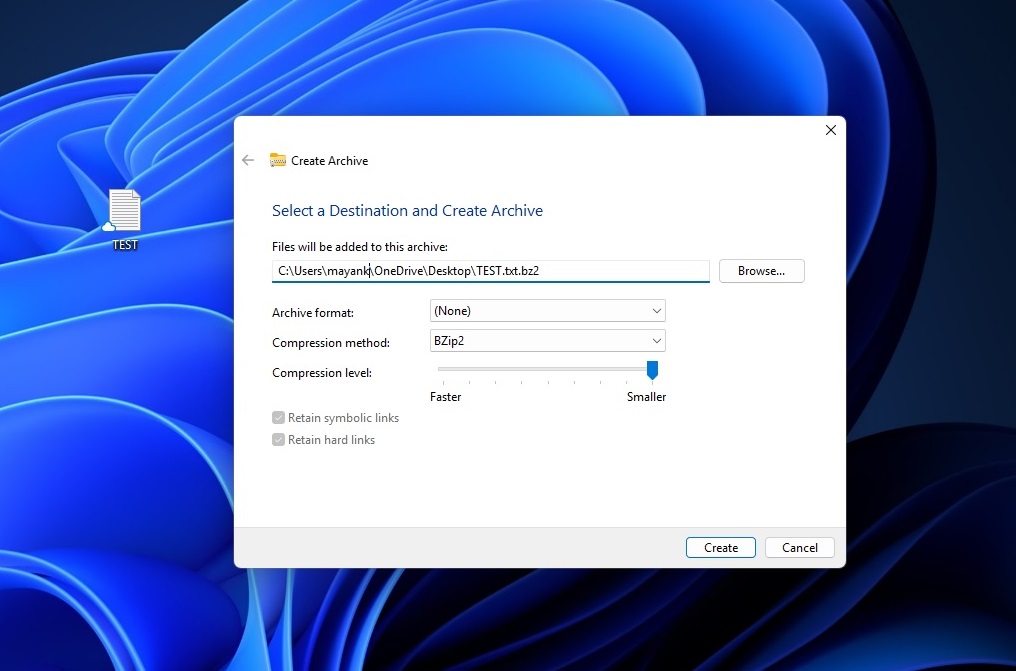
3. Employing Third-Party Compression Software:
- Windows 11 supports various third-party compression tools that offer advanced features and customization options.
- Popular options include 7-Zip, WinRAR, and PeaZip.
- These programs provide intuitive interfaces for creating ZIP archives and often support additional compression formats, such as 7z and RAR.
Essential Considerations for ZIP Archive Creation
1. Compression Level:
- The level of compression determines the degree of file size reduction.
- Higher compression levels generally result in smaller file sizes but may require more processing time.
- Windows 11’s default compression level is typically sufficient for most purposes.
2. Password Protection:
- To enhance security, you can password-protect your ZIP archives.
- This prevents unauthorized access to the files within the archive.
- When creating a ZIP archive, look for an option to set a password.
3. File Inclusion:
- Ensure that all necessary files are included in the ZIP archive.
- If you are creating an archive for a specific purpose, such as software installation or project sharing, verify that all required files are present.
4. Archive Size and Storage:
- Consider the size of the ZIP archive and the available storage space.
- Large archives may consume significant storage capacity.
- If necessary, you can split large archives into smaller parts for easier management.
Benefits of Creating ZIP Archives
1. File Size Reduction:
- ZIP compression significantly reduces file sizes, making it easier to share files via email, upload to websites, or transfer over networks.
2. Enhanced Data Security:
- Password protection adds an extra layer of security to your ZIP archives, preventing unauthorized access to sensitive information.
3. Streamlined File Organization:
- Grouping multiple files into a single ZIP archive simplifies file management and organization.
4. Efficient Data Backup:
- ZIP archives can serve as a convenient backup solution, allowing you to store multiple files in a compact and easily transportable format.
5. Improved Data Integrity:
- The compression process ensures data integrity, reducing the risk of data corruption during transmission or storage.
Frequently Asked Questions
1. Can I extract files from a ZIP archive in Windows 11?
- Yes, Windows 11 provides built-in support for extracting files from ZIP archives.
- Simply right-click on the ZIP archive, select "Extract All", and follow the on-screen instructions.
2. What are the differences between ZIP and other archive formats?
- ZIP is a widely used and supported archive format.
- Other formats, such as 7z and RAR, offer higher compression ratios but may require specialized software to extract files.
3. How can I ensure the security of my ZIP archives?
- Always use strong passwords when protecting ZIP archives.
- Consider using encryption algorithms like AES-256 for maximum security.
- Be mindful of the security of the storage location for your ZIP archives.
4. Can I create self-extracting ZIP archives?
- Some third-party compression tools allow you to create self-extracting archives.
- These archives contain an executable file that automatically extracts the files upon execution.
5. How do I compress a folder containing subfolders and files?
- You can compress an entire folder, including its subfolders and files, by selecting the folder itself when creating the ZIP archive.
Tips for Effective ZIP Archive Creation
1. Choose the appropriate compression level based on file type and size.
2. Password-protect sensitive archives to enhance security.
3. Verify that all necessary files are included in the archive before sharing or storing it.
4. Consider using third-party compression tools for advanced features and customization options.
5. Regularly back up your ZIP archives to prevent data loss.
Conclusion
Creating ZIP archives in Windows 11 is a straightforward process that offers numerous benefits, including file size reduction, enhanced security, and streamlined file organization. By understanding the different methods for creating ZIP archives and following best practices, you can effectively manage and protect your data while optimizing file sharing and storage efficiency.

Closure
Thus, we hope this article has provided valuable insights into Creating Compressed Archives in Windows 11: A Comprehensive Guide. We hope you find this article informative and beneficial. See you in our next article!