
Mastering the Power of the Command Line: A Comprehensive Guide to Zipping and Unzipping Files in Windows 11
Related Articles: Mastering the Power of the Command Line: A Comprehensive Guide to Zipping and Unzipping Files in Windows 11
Introduction
With great pleasure, we will explore the intriguing topic related to Mastering the Power of the Command Line: A Comprehensive Guide to Zipping and Unzipping Files in Windows 11. Let’s weave interesting information and offer fresh perspectives to the readers.
Table of Content
Mastering the Power of the Command Line: A Comprehensive Guide to Zipping and Unzipping Files in Windows 11
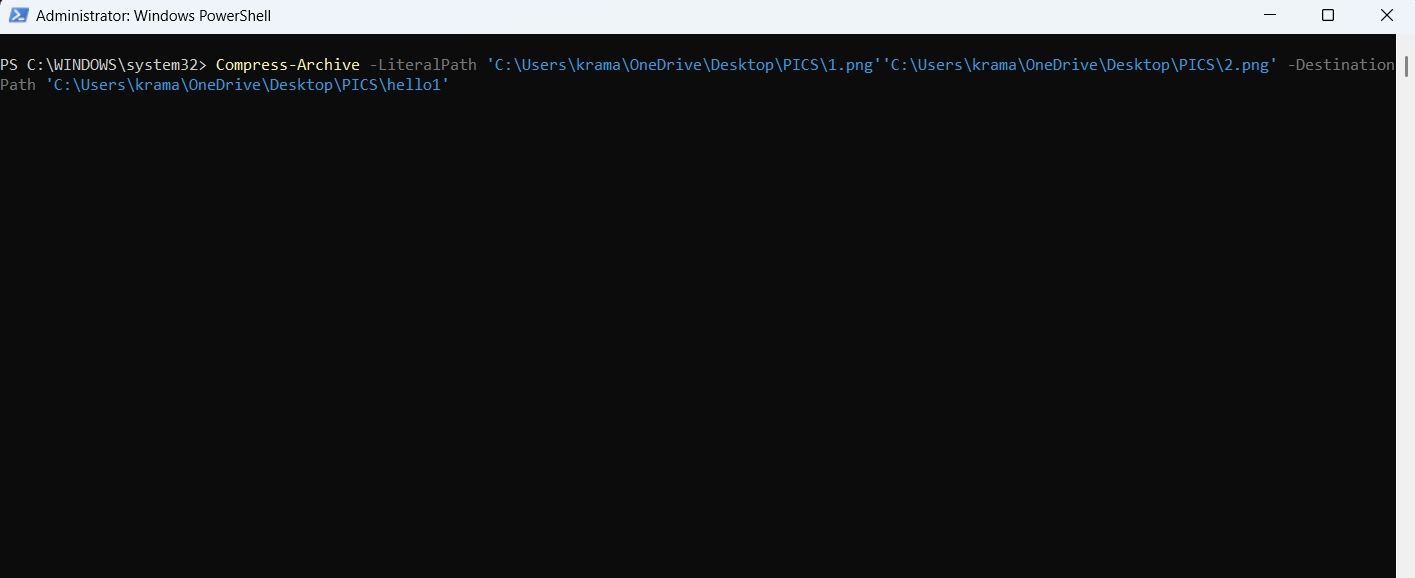
The command line interface, often referred to as the command prompt or terminal, provides a powerful way to interact with your computer. In Windows 11, this interface offers a robust set of commands for managing files, including the ability to compress and extract files using the zip command. This guide delves into the intricacies of utilizing this command, equipping users with the knowledge to efficiently handle their file compression needs.
Understanding the Fundamentals
Before diving into the specifics of the zip command, it’s crucial to grasp the concept of file compression. Compression involves reducing the size of a file or group of files by eliminating redundancy and employing specialized algorithms. This results in smaller files, facilitating easier storage, transmission, and overall file management.
The zip command in Windows 11 utilizes the industry-standard ZIP format, a widely recognized and supported archive format. This ensures compatibility with various operating systems and applications, making it a versatile tool for file compression.
Essential Commands: Zipping Files
The zip command offers a flexible and powerful way to compress files and folders. Here’s a breakdown of its basic syntax and essential options:
zip <archive_name> <file_or_folder_to_compress> [options]-
<archive_name>: The name of the ZIP archive file to be created. -
<file_or_folder_to_compress>: The file or folder you wish to compress. -
[options]: Optional parameters that modify the compression process.
Commonly Used Options:
-
-r(Recursive): Compresses all files and folders within the specified directory. -
-m(Move): Moves the original files and folders into the created ZIP archive. -
-p(Password): Encrypts the ZIP archive with a password. -
-q(Quiet): Suppresses output messages during the compression process. -
-t(Time): Sets the time stamp of the ZIP archive.
Illustrative Examples:
-
Compressing a single file:
zip document.zip my_document.txtThis command creates a ZIP archive named
document.zipcontaining the filemy_document.txt. -
Compressing a folder with recursion:
zip images.zip -r my_images_folderThis command creates a ZIP archive named
images.zipcontaining all files and subfolders within themy_images_folder. -
Compressing and moving files:
zip -m project.zip my_project_filesThis command creates a ZIP archive named
project.zipcontaining the files withinmy_project_filesand then moves those files into the archive. -
Compressing with a password:
zip -p my_password my_data.zip my_sensitive_filesThis command creates a password-protected ZIP archive named
my_data.zipcontaining the files withinmy_sensitive_files. The password is set tomy_password.
Unveiling the Power of Unzipping
The unzip command complements the zip command, enabling you to extract the contents of a ZIP archive. Its basic syntax is as follows:
unzip <archive_name> [options]-
<archive_name>: The name of the ZIP archive file to be extracted. -
[options]: Optional parameters that modify the extraction process.
Key Options for Unzipping:
-
-d(Directory): Specifies the destination directory for the extracted files. -
-p(Password): Provides the password for an encrypted ZIP archive. -
-o(Overwrite): Overwrites existing files with the same name during extraction. -
-j(Junk): Ignores junk files (e.g.,.DS_Storeon macOS) during extraction.
Example Unzipping Scenarios:
-
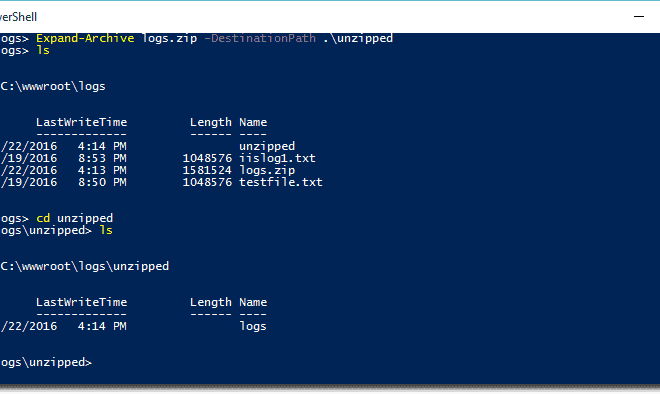
Extracting the contents of a ZIP archive:
unzip my_archive.zipThis command extracts all files and folders from the
my_archive.ziparchive into the current directory. -
Extracting to a specific directory:
unzip -d extracted_files my_archive.zipThis command extracts all files and folders from the
my_archive.ziparchive into theextracted_filesdirectory. -
Extracting with a password:
unzip -p my_password my_encrypted_archive.zipThis command extracts all files and folders from the password-protected
my_encrypted_archive.ziparchive using the passwordmy_password.
Beyond the Basics: Advanced Techniques
The zip and unzip commands offer a range of advanced features that empower users to fine-tune their compression and extraction processes.
-
Selective Extraction: The
unzipcommand allows you to extract specific files from an archive using wildcards. For example:unzip my_archive.zip *.txtThis command extracts only the files with the
.txtextension from themy_archive.ziparchive. -
Compression Levels: The
zipcommand allows you to control the compression level, balancing file size reduction with processing time. Higher compression levels generally result in smaller files but take longer to compress. The-9option indicates the highest compression level, while-1indicates the lowest. -
File Attributes: The
zipcommand enables you to preserve file attributes (e.g., read-only, hidden) during compression. The-xoption excludes specific attributes from being preserved. -
Comment Support: The
zipcommand allows you to add comments to the ZIP archive, providing additional information about the archive’s contents.
Navigating the Command Prompt: A User’s Guide
To access the command prompt in Windows 11, follow these steps:
- Search: Type "cmd" in the Windows search bar.
- Open: Right-click on the "Command Prompt" app and select "Run as administrator" for elevated privileges.
Once you are in the command prompt, you can navigate through the file system using the cd (change directory) command. For instance, to change to the C:UsersYourUsernameDocuments directory, you would type:
cd C:UsersYourUsernameDocumentsFrequently Asked Questions
Q: What is the difference between zip and 7z commands?
A: While zip is a widely supported compression format, 7z (using the 7z command) offers generally higher compression ratios, resulting in smaller file sizes. However, 7z archives may not be as widely compatible as ZIP archives.
Q: Can I compress a folder without including subfolders?
A: Yes, you can use the -j (junk) option to exclude subfolders from compression. For example:
zip -j my_archive.zip my_folderQ: How can I view the contents of a ZIP archive without extracting it?
A: You can use the unzip -l (list) command to display the contents of a ZIP archive. For example:
unzip -l my_archive.zipTips for Effective File Compression
- Choose the Right Compression Level: Experiment with different compression levels to find the optimal balance between file size and processing time.
-
Utilize Exclusion Options: If you have specific files or folders you don’t need to compress, use the
-xoption to exclude them. - Consider Password Protection: Encrypt your ZIP archives with a password to protect sensitive data.
- Explore Alternative Compression Tools: If you require more advanced compression features, explore other compression tools like 7-Zip or WinRAR.
Conclusion
The zip and unzip commands in Windows 11 provide a powerful and efficient way to manage file compression. By mastering these commands, users can streamline their file management, reduce storage space requirements, and facilitate efficient file sharing. With its versatility, compatibility, and advanced features, the command line interface empowers users to take control of their file compression needs, unlocking a realm of possibilities for managing digital assets.


Closure
Thus, we hope this article has provided valuable insights into Mastering the Power of the Command Line: A Comprehensive Guide to Zipping and Unzipping Files in Windows 11. We appreciate your attention to our article. See you in our next article!