
Navigating the Windows 23H2 Repair Version: A Comprehensive Guide
Related Articles: Navigating the Windows 23H2 Repair Version: A Comprehensive Guide
Introduction
With great pleasure, we will explore the intriguing topic related to Navigating the Windows 23H2 Repair Version: A Comprehensive Guide. Let’s weave interesting information and offer fresh perspectives to the readers.
Table of Content
Navigating the Windows 23H2 Repair Version: A Comprehensive Guide
Windows 23H2, the latest feature update for Windows 11, brings a multitude of enhancements and improvements. While these updates are generally welcomed, they can sometimes introduce unforeseen issues, leading to system instability or performance degradation. In such scenarios, the Windows Repair Version, a specialized build designed to address specific problems, becomes a valuable tool for restoring system functionality.
Understanding the Windows Repair Version
The Windows Repair Version is not a full-fledged operating system update but rather a focused solution aimed at resolving known issues within a particular Windows release. It typically contains specific bug fixes, driver updates, or configuration changes that target the identified problems. This version is not intended for general system upgrades or feature enhancements but solely for resolving critical issues that may prevent users from accessing essential functionalities or experiencing a smooth operating experience.
When is the Windows Repair Version Necessary?
The need for a Repair Version arises when standard troubleshooting steps fail to resolve persistent problems. This could include situations where:
- System crashes or freezes: Frequent system crashes or freezes, often accompanied by error messages, can indicate underlying issues.
- Application compatibility issues: Applications may encounter difficulties running properly, resulting in errors or unexpected behavior.
- Driver problems: Incompatible or outdated drivers can lead to hardware malfunctions, performance degradation, or system instability.
- Performance issues: Slow boot times, sluggish application response, or overall system sluggishness can be indicative of underlying problems.
- Blue Screen of Death (BSOD): This error, often accompanied by a stop code, signals a critical system failure that requires immediate attention.
Benefits of Using the Windows Repair Version
Employing the Windows Repair Version offers several advantages:
- Targeted Problem Resolution: The Repair Version is specifically designed to address the identified issues, ensuring efficient and effective problem resolution.
- Minimized Data Loss: Unlike a clean installation, the Repair Version aims to preserve user data and settings, minimizing data loss.
- Reduced Downtime: The repair process is typically faster than a clean installation, reducing the downtime required to restore system functionality.
- Improved System Stability: By addressing the root cause of the problems, the Repair Version enhances system stability and reliability.
- Enhanced Performance: Resolving underlying issues can often improve system performance, leading to a smoother user experience.
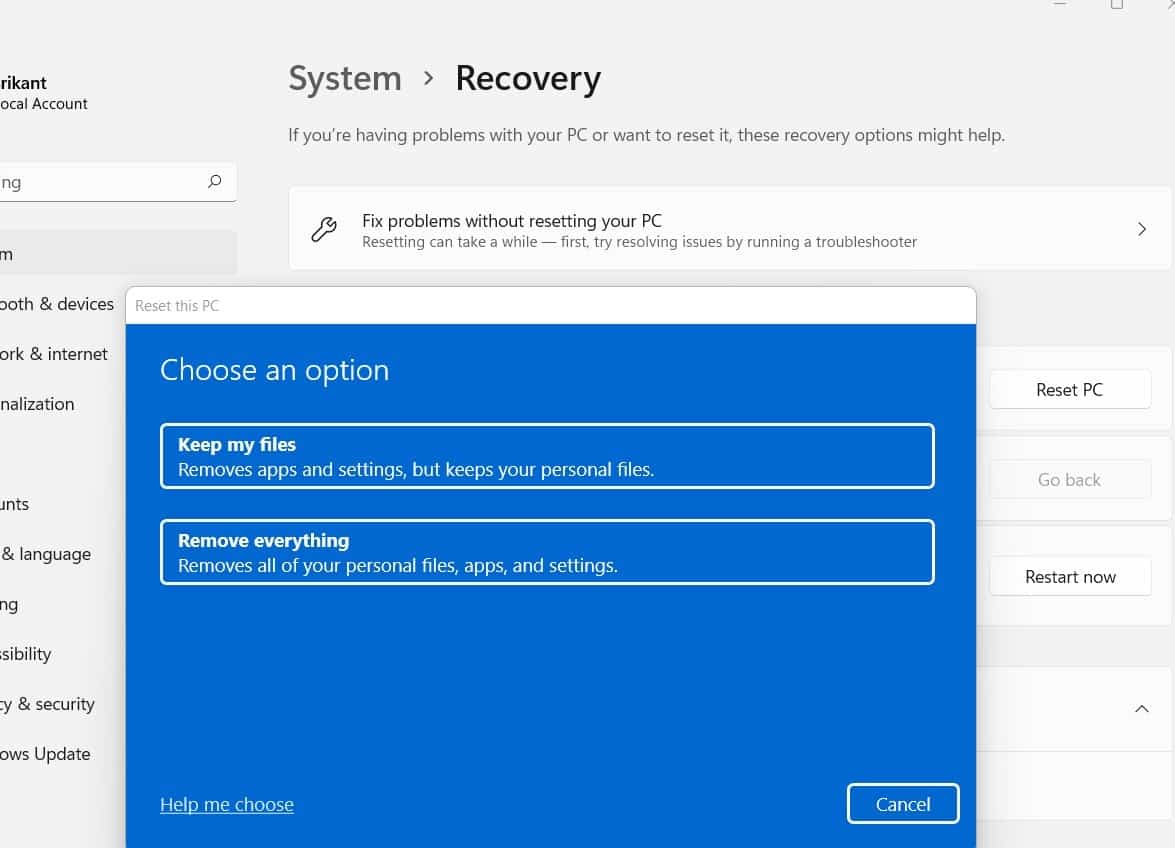
Accessing and Applying the Windows Repair Version
The Windows Repair Version is typically made available through the following channels:
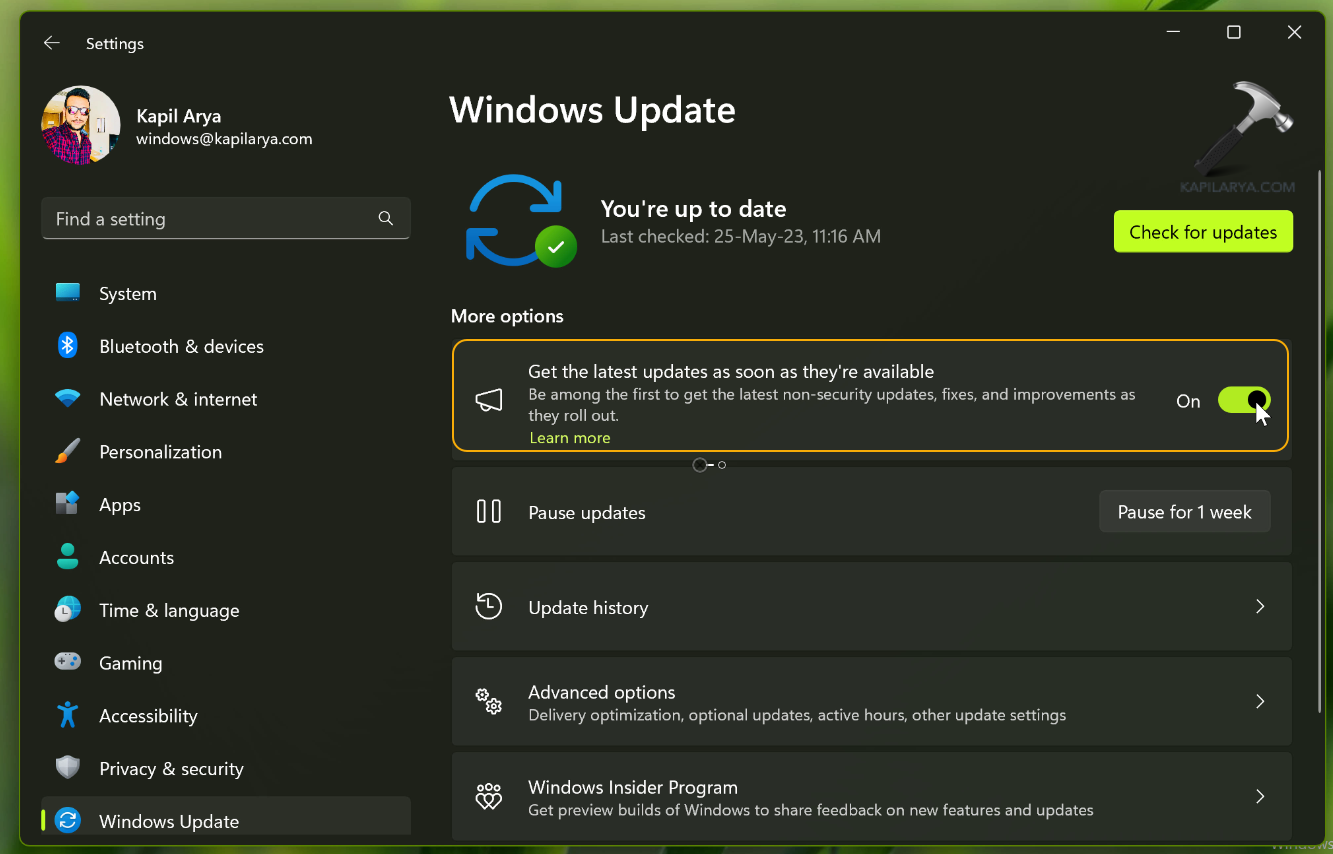
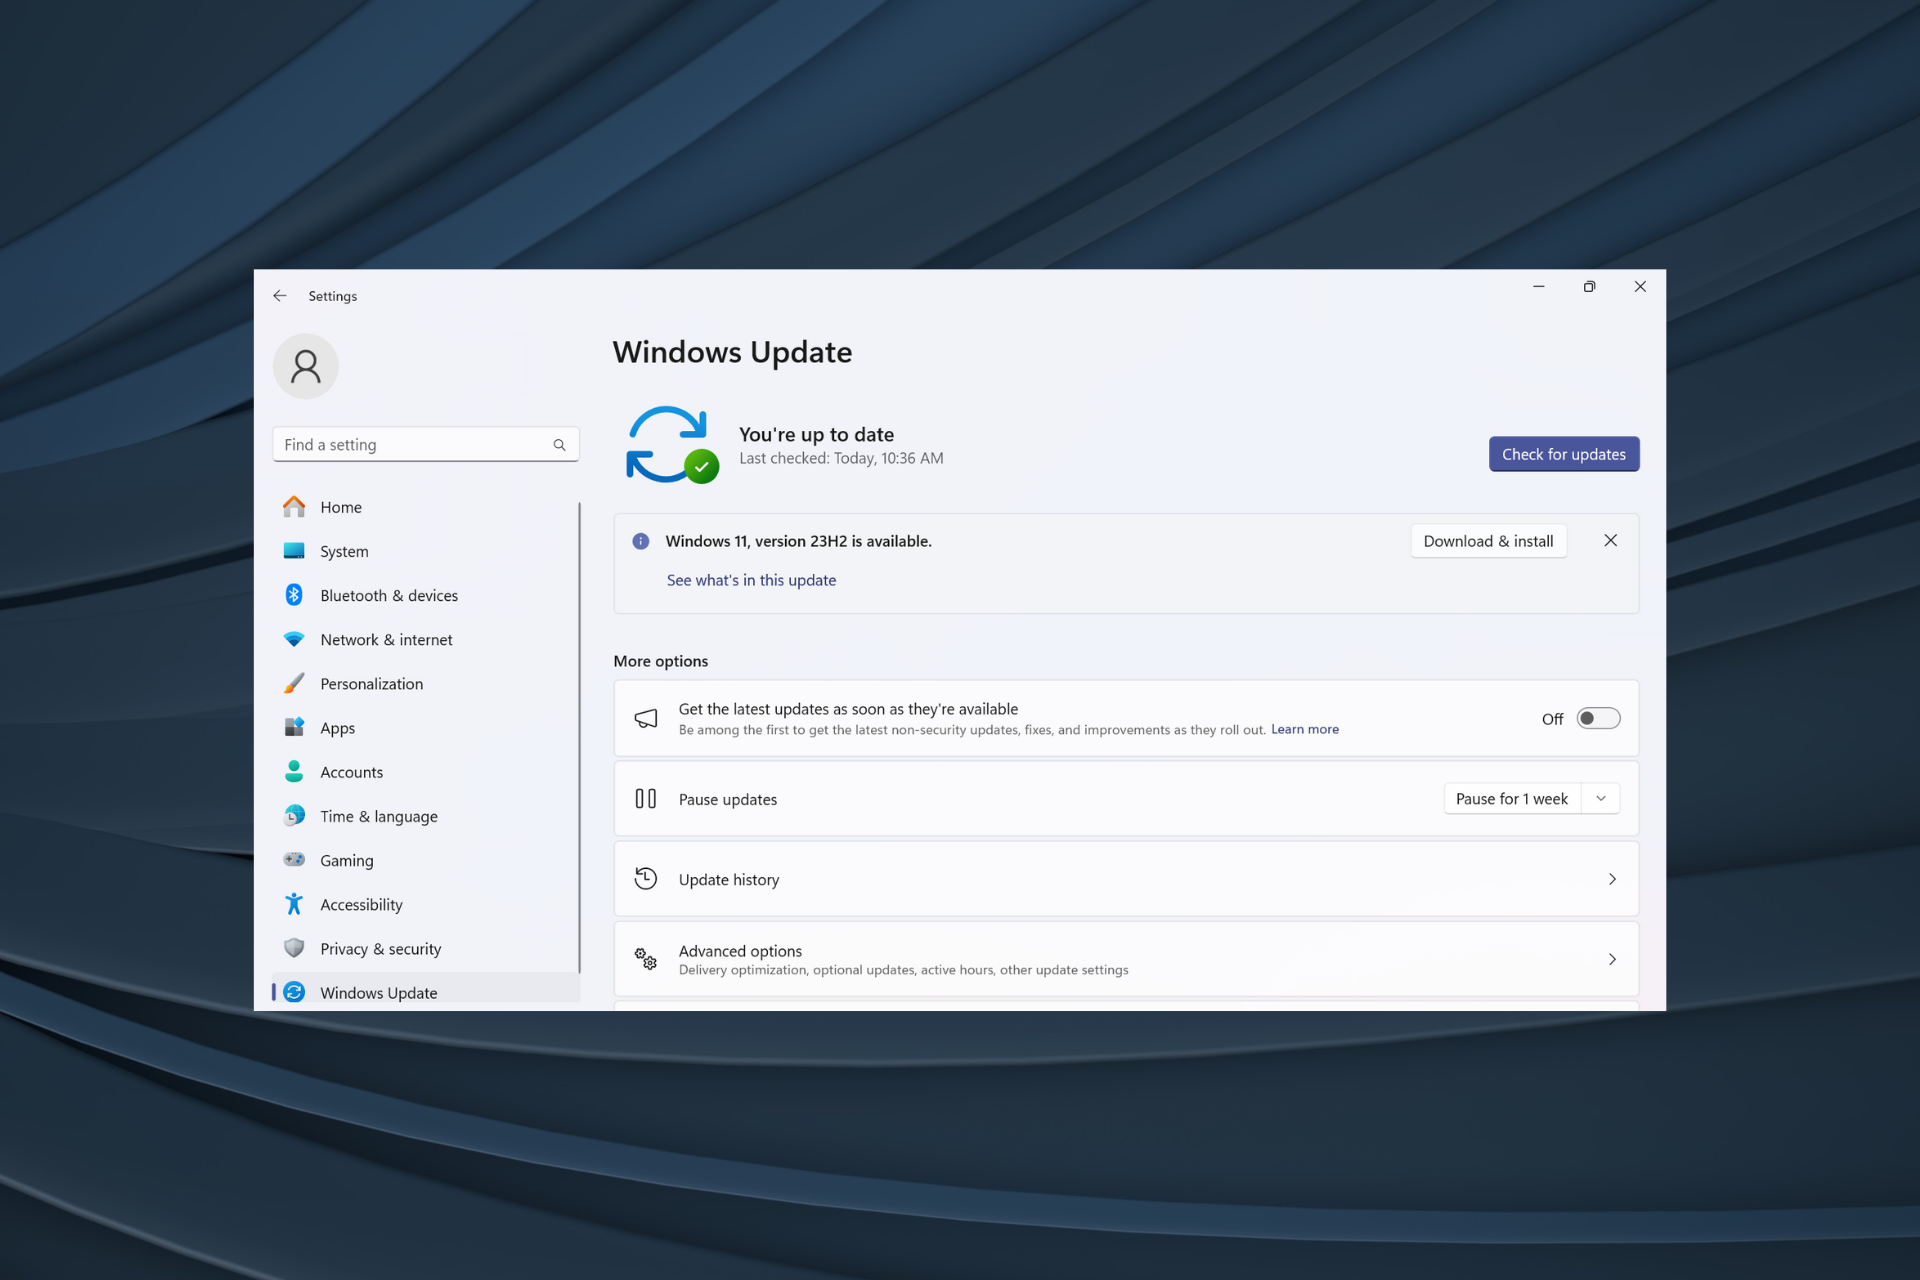
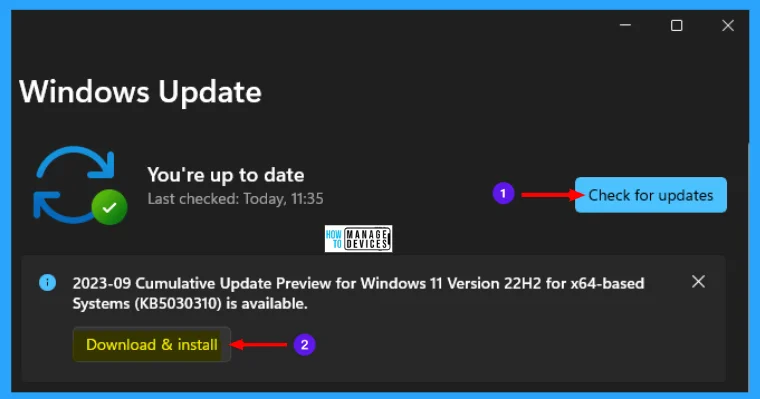
- Windows Update: Microsoft often releases Repair Versions through Windows Update, making it accessible to users with compatible systems.
- Microsoft Support: Contacting Microsoft Support can provide access to Repair Versions tailored to specific issues.
- Windows Installation Media: Creating a bootable USB drive or DVD with the Windows Repair Version allows for offline installation and repair.
Applying the Repair Version
The process of applying the Repair Version typically involves the following steps:
- Backup: Before proceeding, ensure that all important data is backed up to prevent data loss.
- Download: Download the appropriate Repair Version from the chosen source.
- Installation: Follow the on-screen instructions to install the Repair Version.
- Restart: After installation, restart the computer to apply the changes.
Frequently Asked Questions
Q1: Is the Windows Repair Version a full operating system upgrade?
A: No, the Windows Repair Version is not a full upgrade. It is a focused solution designed to address specific problems within an existing Windows installation.
Q2: Will I lose my data after applying the Repair Version?
A: Ideally, the Repair Version should preserve user data and settings. However, it is always recommended to back up important data before applying any system changes.
Q3: How do I know if my system needs the Repair Version?
A: If you encounter persistent system problems, such as crashes, application errors, or performance issues, the Repair Version may be necessary.
Q4: What are the potential risks of applying the Repair Version?
A: While the Repair Version is designed to fix problems, there is always a small risk of encountering unexpected issues. It is essential to back up data before applying the Repair Version.
Q5: Can I revert back to the previous version after applying the Repair Version?
A: Reversion may be possible depending on the specific Repair Version and your system configuration. Consult Microsoft documentation or support for guidance.
Tips for Using the Windows Repair Version
- Backup: Always back up your data before applying any system changes.
- Research: Before installing the Repair Version, research the specific issues it addresses to ensure it aligns with your needs.
- Troubleshoot: Attempt basic troubleshooting steps before resorting to the Repair Version.
- Microsoft Support: If you encounter difficulties, contact Microsoft Support for assistance.
- Documentation: Refer to Microsoft documentation for detailed instructions and troubleshooting tips.
Conclusion
The Windows Repair Version serves as a valuable tool for addressing specific issues within a Windows installation, offering a targeted solution to restore system stability and functionality. By understanding the purpose, benefits, and application process of this specialized build, users can effectively utilize it to resolve persistent problems and maintain a smooth operating experience. Remember to always back up data before applying any system changes and consult Microsoft documentation or support for further guidance.

![[Solved] Windows 11 23H2 Update Failure 5 Solutions](https://www.easeus.com/images/en/wiki-news/windows-11-23h2-update-failure.png)

![[How-to-do]Windows 11 23H2 Backup: Guide and Alternative](https://www.ubackup.com/screenshot/en/others2/windows-backup-and-restore/restore-from-this-pc.png)
Closure
Thus, we hope this article has provided valuable insights into Navigating the Windows 23H2 Repair Version: A Comprehensive Guide. We appreciate your attention to our article. See you in our next article!