
The Enigma of the Truncated Display: Diagnosing and Resolving Windows Screen Clipping Issues
Related Articles: The Enigma of the Truncated Display: Diagnosing and Resolving Windows Screen Clipping Issues
Introduction
With enthusiasm, let’s navigate through the intriguing topic related to The Enigma of the Truncated Display: Diagnosing and Resolving Windows Screen Clipping Issues. Let’s weave interesting information and offer fresh perspectives to the readers.
Table of Content
The Enigma of the Truncated Display: Diagnosing and Resolving Windows Screen Clipping Issues
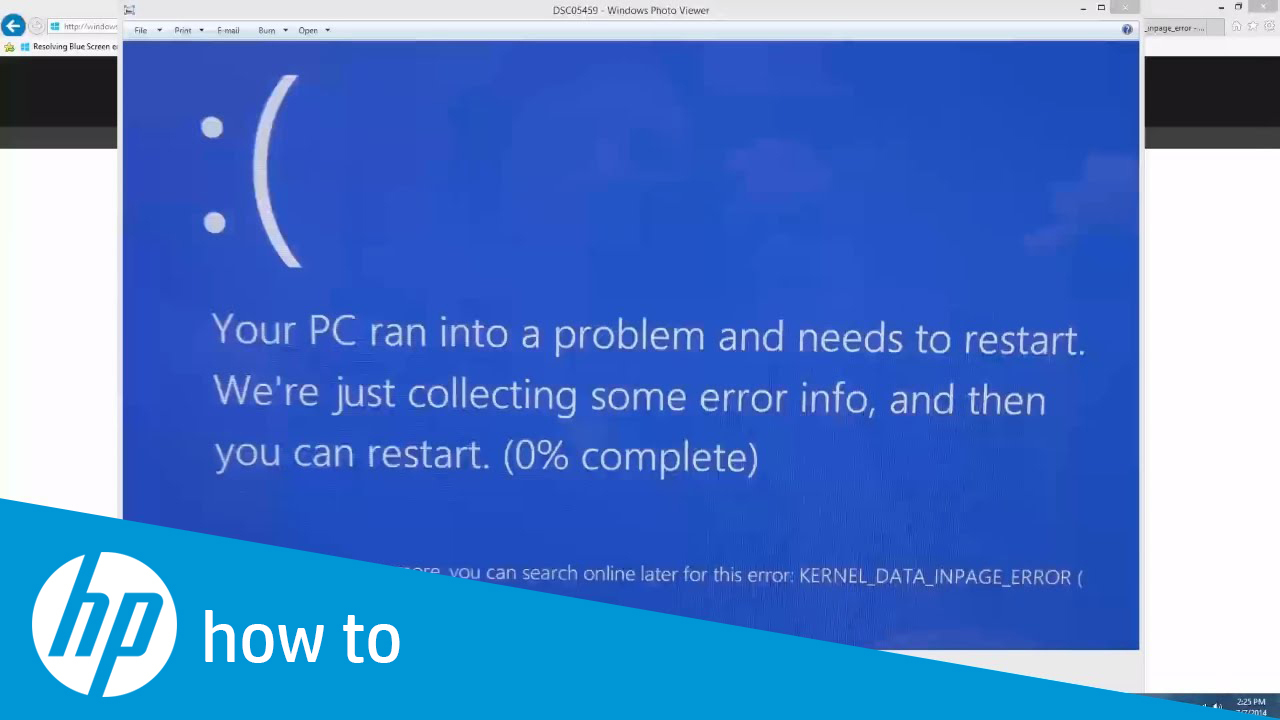
The frustration of encountering a truncated display in Windows, where the top of the screen appears cut off, is a common user experience. This issue can manifest in various ways, ranging from a subtle sliver of missing content to a complete blackout of the top portion of the screen. While seemingly innocuous, this visual anomaly can significantly hinder productivity and user experience, making it crucial to understand its underlying causes and potential solutions.
This article delves into the intricacies of the truncated display problem, providing a comprehensive guide to its diagnosis, troubleshooting, and resolution. We aim to empower users with the knowledge and tools necessary to identify the root of the issue and effectively restore their visual experience to its intended state.
The Anatomy of a Truncated Display
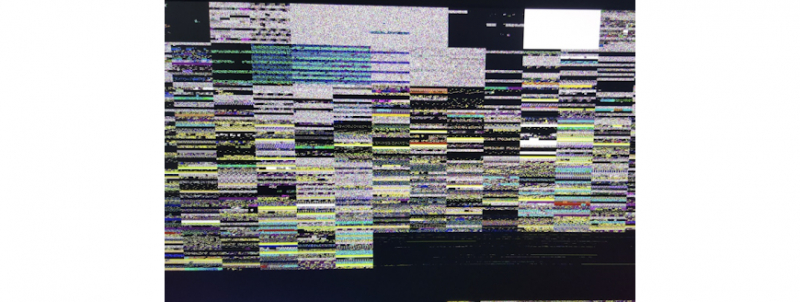
The truncated display issue, also known as screen clipping, is characterized by the top portion of the screen being partially or entirely obscured. This visual aberration can be attributed to a multitude of factors, each requiring a specific approach for resolution.
Common Culprits:
- Incorrect Display Resolution: The most prevalent cause of screen clipping is an incompatible display resolution. If the chosen resolution exceeds the capabilities of the monitor, the screen may display a portion of the content, leaving the remaining portion clipped off.
- Driver Issues: Outdated or malfunctioning display drivers can disrupt the communication between the operating system and the graphics card, leading to various visual anomalies, including screen clipping.
- Hardware Malfunctions: Physical damage to the monitor, video cable, or graphics card can also contribute to screen clipping.
- Software Conflicts: Certain software applications, especially those with graphical intensive features, can interfere with the display settings, causing screen clipping.
- Scaling Issues: Windows scaling settings, designed to adjust the display size for different screen resolutions, can sometimes lead to screen clipping, especially when the scaling factor is too high.
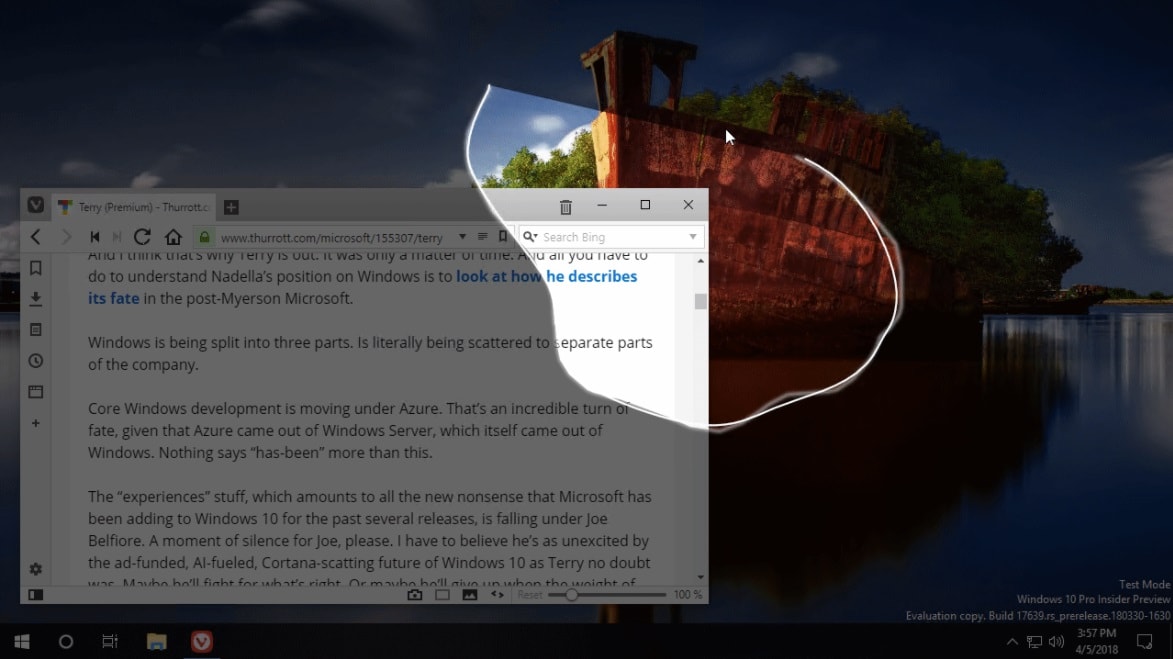
- Overlapping Windows: A seemingly straightforward cause, overlapping windows can create the illusion of screen clipping, obscuring the top portion of the underlying window.
Troubleshooting Steps: A Systematic Approach
Resolving the truncated display issue necessitates a systematic approach, starting with the simplest solutions and progressively moving towards more complex troubleshooting steps.
1. Restart Your Computer: A simple restart can often resolve temporary glitches and software conflicts that might be causing the screen clipping issue.
2. Check Display Settings:
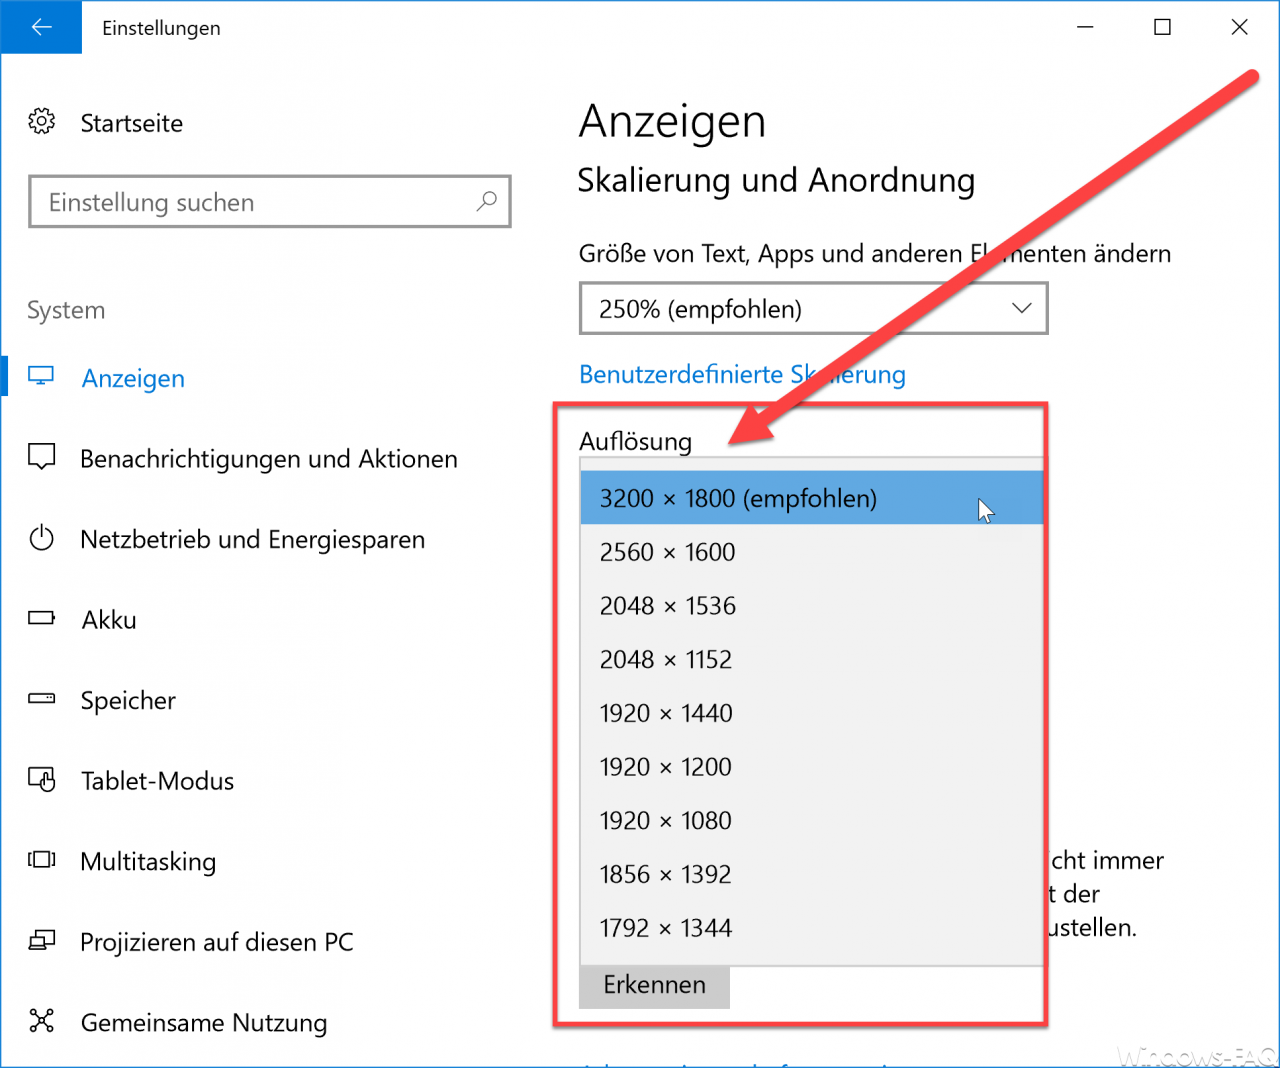
* **Resolution:** Ensure that the chosen resolution matches or is lower than the monitor's native resolution. To adjust the resolution, navigate to **Settings > System > Display** and select the desired resolution from the dropdown menu.
* **Scaling:** Review the scaling settings for potential conflicts. If scaling is enabled, try reducing the scaling factor or disabling it entirely.
3. Update Display Drivers:
* **Device Manager:**  Access the Device Manager by searching for it in the Windows search bar. Locate the "Display adapters" section, right-click on your graphics card, and select "Update driver."
* **Manufacturer Website:**  Visit the website of your graphics card manufacturer (e.g., NVIDIA, AMD, Intel) and download the latest drivers for your specific model.
4. Run System File Checker (SFC):
* **Command Prompt:** Open Command Prompt as administrator and type "sfc /scannow" to scan for and repair corrupted system files.5. Troubleshoot Hardware:
* **Monitor:**  Connect the monitor to a different computer to rule out monitor malfunction.
* **Video Cable:**  Replace the video cable with a new one to ensure a stable connection.
* **Graphics Card:**  If the issue persists, consider replacing the graphics card.
6. Check for Software Conflicts:
* **Recent Installs:**  Identify any recently installed software that might be interfering with the display settings. Temporarily uninstall the suspect software and observe if the issue resolves.
* **Compatibility Mode:**  If the issue persists, try running the suspect software in compatibility mode for a previous version of Windows.
7. Adjust Windows Settings:
* **Clear Type Text:**  In some cases, the Clear Type text settings can cause screen clipping. Try disabling or adjusting the Clear Type settings.
* **Display Size:**  Check the "Display size" setting in the **Settings > System > Display** menu. If the setting is too high, it can cause the screen to be clipped.
* **Virtual Desktop:**  If using a virtual desktop environment, ensure that the virtual desktop settings are configured correctly.
8. Consider a System Restore:
* **System Restore Point:** If the issue persists, consider restoring your system to a previous point in time where the issue was not present.FAQs: Addressing Common Queries
Q: Why is the top of my screen cut off after installing a new graphics driver?
A: Installing a new graphics driver can sometimes introduce compatibility issues or conflicts with the existing system configuration, leading to screen clipping. It’s essential to download and install the latest driver directly from the manufacturer’s website for optimal compatibility.
Q: My monitor is connected via HDMI, but the top of the screen is cut off. What should I do?
A: While HDMI is a common connection standard, it’s crucial to ensure that the HDMI cable and port are properly connected and functioning correctly. Try using a different HDMI cable or connecting the monitor to a different port on the computer to rule out hardware issues.
Q: I’m using multiple monitors, and the top of the screen is cut off on one of them. How do I fix it?
A: When using multiple monitors, ensure that the display settings are configured correctly for each monitor. Check the resolution, scaling, and orientation settings for each individual monitor to ensure they are compatible and optimized for your setup.
Q: The top of my screen is cut off, but the cursor is still visible. What could be the issue?
A: This scenario suggests that the issue might be related to a software conflict or display settings rather than a hardware malfunction. Review the recent software installations, check the display resolution and scaling settings, and consider running a system file checker to rule out corrupted system files.
Tips for Preventing Screen Clipping
- Maintain Updated Drivers: Regularly update your graphics drivers to ensure compatibility and optimal performance.
- Choose Compatible Resolutions: Always select a display resolution that is supported by your monitor and graphics card.
- Avoid Over-Scaling: Use scaling settings judiciously, as excessive scaling can lead to screen clipping.
- Monitor Hardware: Regularly inspect your monitor, video cable, and graphics card for any signs of damage or wear.
- Back Up Your System: Create regular system restore points to enable quick recovery in case of software conflicts or system errors.
Conclusion: Restoring the Visual Harmony
The truncated display issue can be a frustrating obstacle, but by understanding its potential causes and systematically applying troubleshooting steps, users can effectively diagnose and resolve this visual anomaly. From simple restarts to hardware checks and software adjustments, this comprehensive guide empowers users to regain control of their display and restore the visual harmony of their computing experience. Remember, addressing the underlying cause is crucial for a long-term solution, ensuring that the truncated display issue becomes a relic of the past.


Closure
Thus, we hope this article has provided valuable insights into The Enigma of the Truncated Display: Diagnosing and Resolving Windows Screen Clipping Issues. We hope you find this article informative and beneficial. See you in our next article!