
Unpacking the Power of Windows 11’s Built-in File Compression Tools
Related Articles: Unpacking the Power of Windows 11’s Built-in File Compression Tools
Introduction
With enthusiasm, let’s navigate through the intriguing topic related to Unpacking the Power of Windows 11’s Built-in File Compression Tools. Let’s weave interesting information and offer fresh perspectives to the readers.
Table of Content
- 1 Related Articles: Unpacking the Power of Windows 11’s Built-in File Compression Tools
- 2 Introduction
- 3 Unpacking the Power of Windows 11’s Built-in File Compression Tools
- 3.1 Understanding ZIP Archives and Extraction
- 3.2 Windows 11’s Built-in ZIP File Extractor: A User-Friendly Solution
- 3.3 Extracting Files: A Step-by-Step Guide
- 3.4 Advantages of Using Windows 11’s Built-in Extractor
- 3.5 Common Queries and Answers
- 3.6 Tips for Efficient ZIP File Management
- 3.7 Conclusion
- 4 Closure
Unpacking the Power of Windows 11’s Built-in File Compression Tools
Windows 11, with its focus on user experience and efficiency, offers a robust set of built-in tools for handling compressed files. Among these tools, the ability to extract files from ZIP archives is a fundamental feature that empowers users to effortlessly manage their data.
This article delves into the nuances of Windows 11’s built-in ZIP file extraction capabilities, exploring its significance in a modern computing landscape. We will examine the process of extracting files, discuss the advantages of using this native functionality, and address common queries surrounding its usage.
Understanding ZIP Archives and Extraction
ZIP archives are a widely used format for compressing multiple files into a single, manageable container. This compression reduces file size, making it easier to store, transmit, and share data. When you need to access the individual files within a ZIP archive, you need to "extract" them. This process involves retrieving the original files from the compressed archive, restoring them to their original format and size.
Windows 11’s Built-in ZIP File Extractor: A User-Friendly Solution
Windows 11 comes equipped with a built-in ZIP file extractor, eliminating the need for third-party software. This native functionality provides a simple and efficient way to manage compressed files. The extractor is seamlessly integrated into the Windows Explorer, making it readily accessible to users.
Extracting Files: A Step-by-Step Guide
- Locate the ZIP Archive: Navigate to the folder where your ZIP archive is stored.
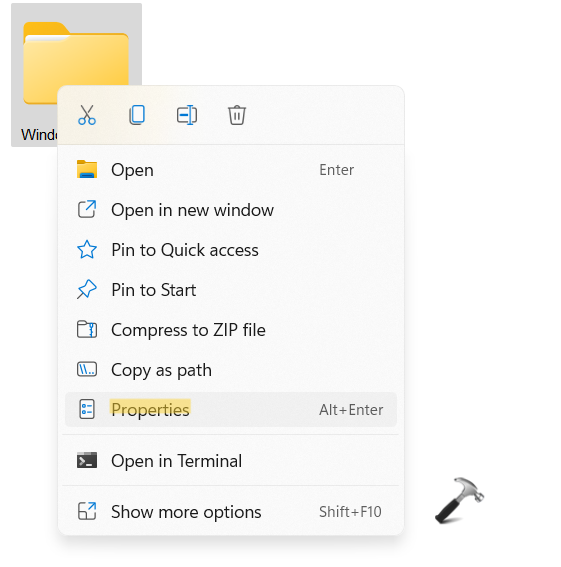
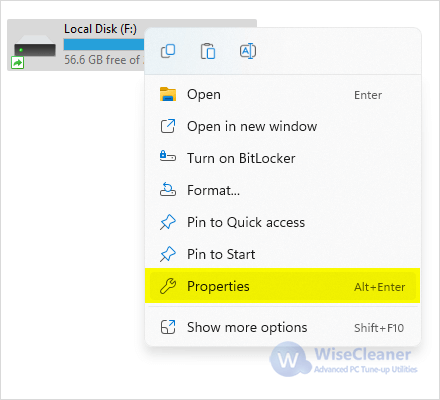
- Right-Click the Archive: Right-click on the ZIP file icon.
- Select "Extract All": A context menu will appear. Choose the "Extract All" option.
- Choose Extraction Location: A window will open, prompting you to select a destination folder for the extracted files. By default, the extraction will occur in the same folder as the ZIP archive.
- Click "Extract": Clicking "Extract" initiates the extraction process. The progress of the extraction will be displayed in a pop-up window.
Advantages of Using Windows 11’s Built-in Extractor
- Simplicity and Convenience: The built-in extractor eliminates the need for additional software, streamlining the extraction process. Its integration into Windows Explorer makes it readily accessible and user-friendly.
- Security: Using a native tool reduces the risk of introducing malware or security vulnerabilities associated with third-party software.
- Resource Efficiency: The built-in extractor is optimized for performance and resource utilization, ensuring a smooth extraction experience without taxing your system.
- Compatibility: The extractor supports a wide range of ZIP archives, ensuring compatibility with most compressed files.
Common Queries and Answers
Q: Can I extract specific files from a ZIP archive instead of extracting everything?
A: While Windows 11’s built-in extractor does not have a dedicated option to extract specific files, you can achieve this by opening the ZIP archive like a regular folder. Once inside, you can select the desired files and copy them to your desired location.
Q: Can I create ZIP archives using Windows 11’s built-in tools?
A: Yes, Windows 11 offers a built-in feature for creating ZIP archives. To compress files, select the files or folders you wish to compress, right-click, and choose "Add to archive." You can then customize the archive name, location, and compression level.
Q: What if I encounter an error during extraction?
A: If you encounter errors during extraction, it is likely due to a corrupt or damaged ZIP archive. Consider these steps:
- Verify the source: Ensure the ZIP archive is from a reliable source and has not been corrupted during download or transfer.
- Try a different extractor: If the problem persists, consider using a third-party ZIP file extractor to see if it can extract the files successfully.
- Run a virus scan: Scan the ZIP archive for any malware that could be causing the extraction error.
Tips for Efficient ZIP File Management
- Organize Your Archives: Create separate folders for different types of ZIP archives to maintain a structured file system.
- Utilize Compression Levels: When creating ZIP archives, consider using different compression levels to optimize file size and extraction speed. Higher compression levels generally result in smaller file sizes but take longer to compress and extract.
- Password Protection: For sensitive data, consider password-protecting your ZIP archives to enhance security.
- Regularly Clean Up: Periodically delete unnecessary ZIP archives to free up storage space and maintain system efficiency.
Conclusion
Windows 11’s built-in ZIP file extractor is a powerful and user-friendly tool that simplifies the management of compressed files. Its integration into Windows Explorer, ease of use, and security make it a valuable asset for users of all levels. By understanding the functionalities and advantages of this native feature, users can effectively manage their compressed data and optimize their computing experience.

Closure
Thus, we hope this article has provided valuable insights into Unpacking the Power of Windows 11’s Built-in File Compression Tools. We thank you for taking the time to read this article. See you in our next article!